Flyer printing is just what it sounds like: the process of creating a whole bunch of promotional leaflets. But don't let the simplicity fool you. This classic marketing tactic is still incredibly effective. A great flyer is a perfect storm of a strong message, smart design, and quality paper that works together to grab attention, get people in the door, and ultimately, drive sales. Even in our screen-obsessed world, there's something about a physical flyer that creates a real, tangible connection with potential customers.
Why Flyers Are Still a Marketing Powerhouse
We're all drowning in digital noise—endless notifications, overflowing inboxes, and pop-up ads at every turn. A well-designed flyer cuts right through that chaos. Think about it: getting a personal invitation in the mail feels a lot different than deleting another unread marketing email, right? That physical presence gives a flyer a sense of permanence and importance that a fleeting digital ad just can't replicate, making your message stick.
This is exactly why so many businesses, big and small, still count on flyer printing. A local coffee shop can use them to announce a new seasonal drink. A real estate agent can showcase a hot new listing to a specific neighborhood. An AEC firm can hand them out to make a big impression at a trade show. In every case, the flyer becomes a direct, physical touchpoint with the right people.
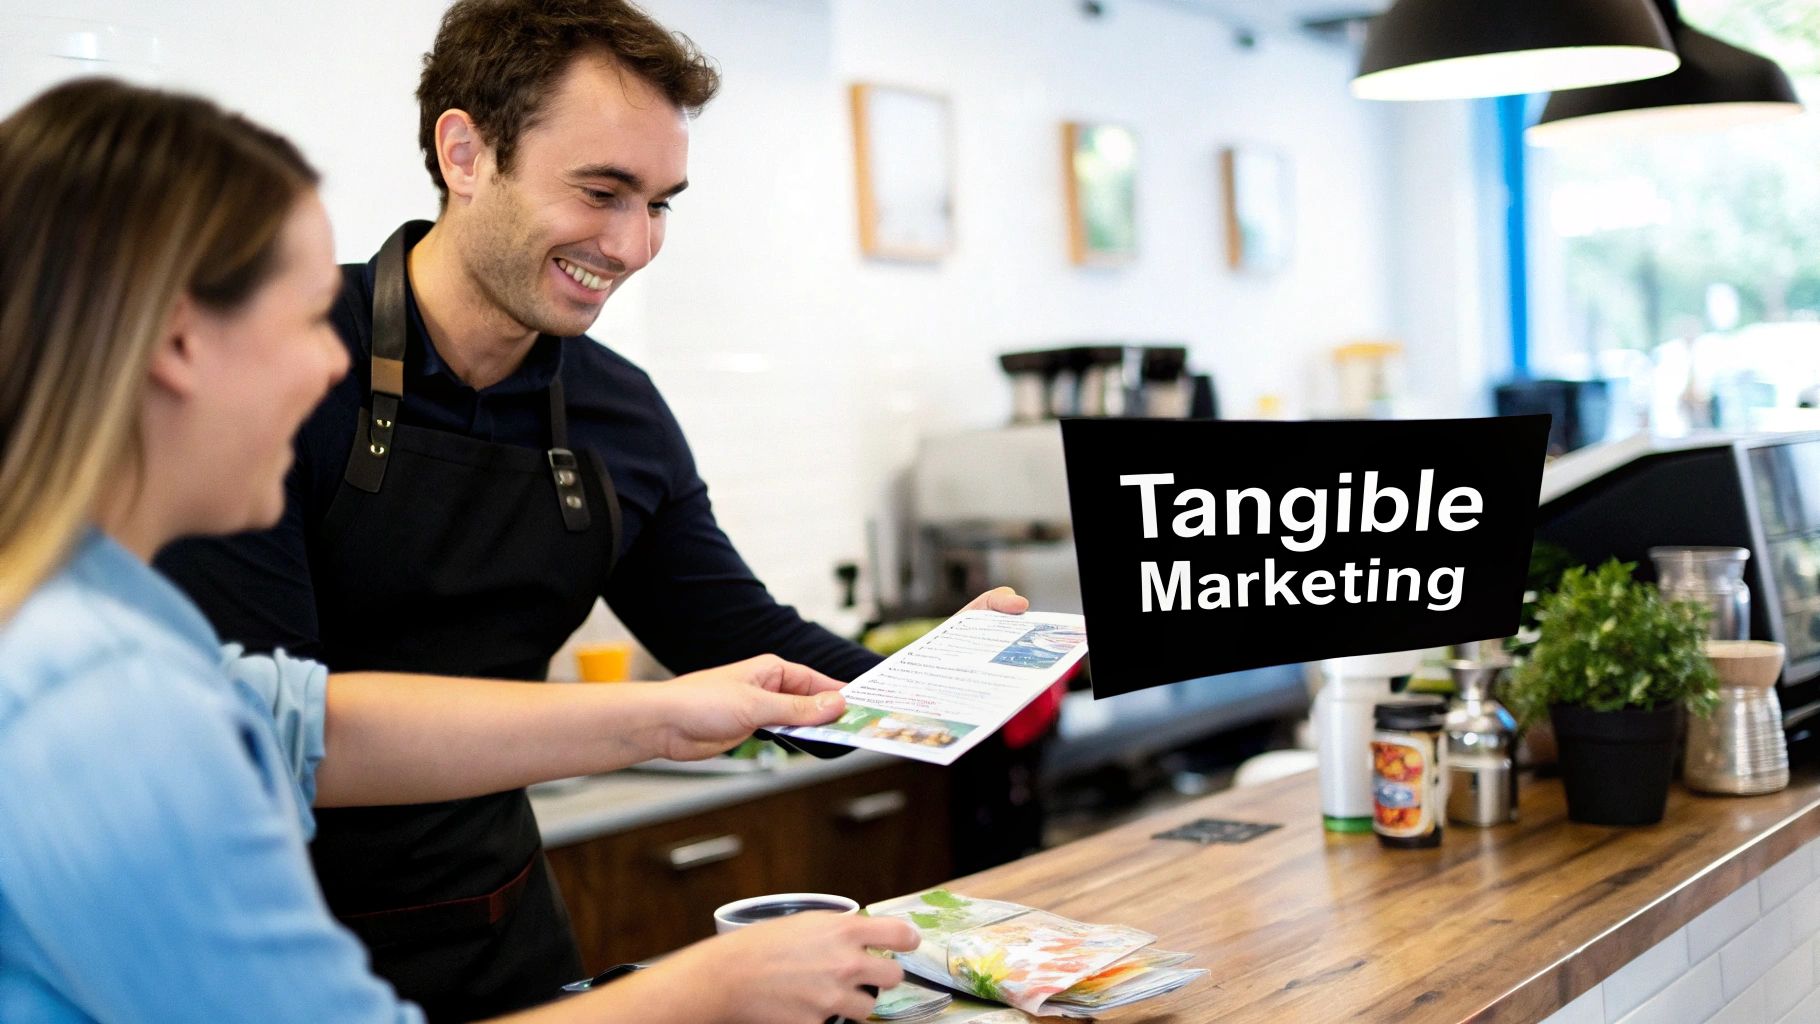
The Power of Tangibility
The simple act of holding a piece of paper in your hands is a multi-sensory experience that a screen can't match. The weight of the paper and the feel of the ink create an immediate, subconscious impression of your brand. A flimsy, cheap-feeling flyer might send the wrong message, while a sturdy, well-printed one instantly communicates quality and credibility. It’s this sensory feedback that helps forge a stronger connection to your brand.
This tangible approach comes with some serious perks:
- Cuts Through Digital Clutter: Flyers don't get caught by ad-blockers or lost in a spam folder. They land directly in your audience's hands, demanding at least a moment of their undivided attention.
- Builds Local Trust: When you're a community-focused business, handing out flyers creates a genuine, personal connection. It shows people you're a real, active part of the neighborhood, not some faceless online brand.
- Drives Immediate Action: A great flyer with a clear call-to-action, like a tear-off coupon or an event QR code, prompts people to act now. It's a physical reminder they can pin to a bulletin board or stick on the fridge.
Holding a marketing message in your hands makes it feel more real and trustworthy. Research shows that physical media leaves a deeper footprint in the brain, leading to better recall of the brand and its message compared to digital advertisements.
When it comes down to it, flyers give you a focused, cost-effective way to reach a very specific audience. The format forces you to boil your message down to its most powerful elements, making sure every word and every image is working hard to hit your goals—whether that's increasing foot traffic or announcing your next big sale.
Planning Your Flyer for Maximum Impact
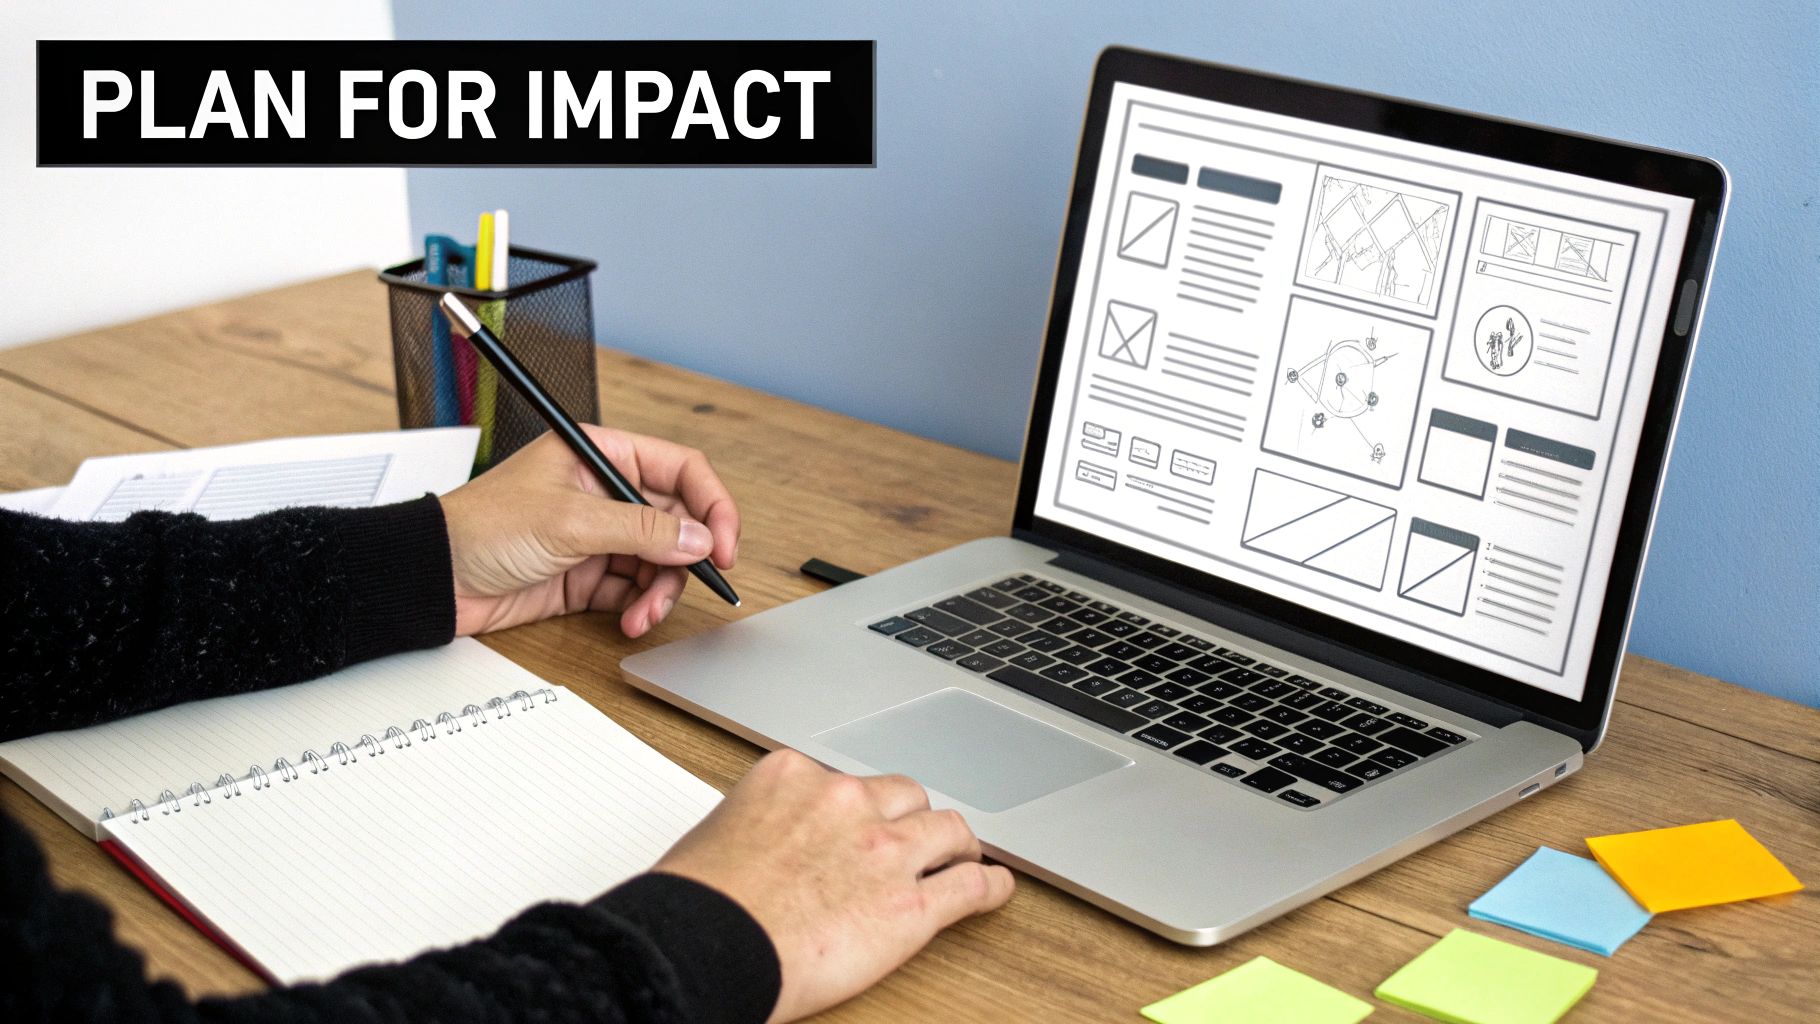
Before you ever open a design program or start looking at paper samples, you need a solid plan. A great flyer isn't just about eye-catching graphics; it's a carefully crafted marketing tool built to get a specific job done. This is the stage where you lay the strategic groundwork that turns a simple piece of paper into a powerful business asset.
Think of it this way: your flyer is a silent salesperson. If it could only say one thing to a potential customer, what would that be? Getting crystal clear on that message is everything, and it all starts with a few key questions.
Who Are You Talking To, and What Do You Want Them to Do?
First up, who is this flyer for? You can't be everything to everyone. A flyer meant to catch the eye of a college student will feel completely different from one aimed at a corporate CEO. So, get specific. Don't just target "homeowners." Instead, zero in on "new homeowners in the Albany area who recently bought homes over $400k." Now that’s a target.
With your audience in mind, decide on your one main goal. Trying to do too much with a single flyer just creates confusion. Pick one clear, measurable objective that will guide every single design choice.
- Want to Drive Foot Traffic? Maybe you're launching a new cafe and need people to show up for the grand opening.
- Need to Announce an Event? The goal could be to sell tickets for a local concert or get sign-ups for a community workshop.
- Trying to Generate Leads? Perhaps you want people to scan a QR code to book a free consultation or call to get a quote.
Nailing down your audience and goal creates the guardrails for your project. It’s the compass that keeps your headline, your images, and your final call-to-action all pointing in the same direction.
Before diving into the design, it helps to put your strategy on paper. Use this simple checklist to map out the core elements of your flyer campaign.
Flyer Campaign Planning Checklist
Use this checklist to map out the core strategic elements of your flyer before you begin the design process.
| Planning Element | Key Question to Answer | Example |
|---|
| Target Audience | Who is the ideal person I want to reach? | "Young families with children aged 2-8 living within a 5-mile radius of our new daycare center." |
| Primary Goal | What is the single most important action I want them to take? | "Schedule a tour of our new facility." |
| The Offer | What irresistible value can I provide to make them act? | "One free week of childcare for the first 20 families who book a tour." |
| Call to Action (CTA) | How do I tell them exactly what to do next? | "Scan the QR code to book your free tour now! Spots are limited." |
This quick exercise forces clarity and ensures your design has a purpose from the very beginning.
Craft an Offer They Can't Refuse
Now that you know who you're talking to and what you want them to do, you need to give them a really good reason to do it. Your offer is what saves your flyer from an immediate trip to the recycling bin. A generic "10% Off" probably isn't going to cut through the clutter. You need to present genuine, immediate value.
Think about what your specific audience actually wants or needs. For those new homeowners, a vague discount is forgettable. But an offer for "One Free Room of Painting with Any Exterior Job" solves a real, timely problem and gives them a clear, tangible benefit. That’s an offer with some punch.
A strong offer is the heart of your flyer. It’s the "what's in it for me?" that answers the reader's unspoken question and motivates them to take the next step. A weak offer results in a weak response, no matter how beautiful the flyer printing.
Create a Clear and Urgent Call to Action
Finally, you have to tell people exactly what you want them to do. Don't be shy about it. This is your Call to Action (CTA), and it needs to be direct, urgent, and incredibly easy to follow. Any confusion here will kill your response rate.
Weak CTA: "Learn more about our services."
Strong CTA: "Call Today for a Free Estimate!"
Weak CTA: "Sale this weekend."
Strong CTA: "Bring This Flyer for 25% Off Your Entire Purchase—This Weekend Only!"
Make your CTA a focal point of the design. Use bold text, a button-like shape, or a contrasting color to make it pop. Adding a little urgency with phrases like "Offer Expires Friday," "Limited Spots Available," or "First 50 Customers" gives people a reason to act now instead of later. By building this solid strategic foundation, you’re setting up your flyer printing investment for a much greater chance at success.
Choosing the Right Paper and Finishes
The way your flyer feels in someone's hand is its first handshake. Long before they've read a single word, the paper's size, weight, and texture are already sending signals about your brand. Picking the right materials for your flyer isn't just a technical step; it's how you make a professional and lasting impression.
Think of it this way: a flimsy, thin piece of paper feels cheap and temporary, almost like a receipt you'd toss away. But a thick, substantial cardstock? That feels important. It communicates quality and confidence. Getting this physical vibe to match your message is the secret to creating a flyer that doesn't just look good but feels right. This tangible quality is a huge reason why the printing industry is still such a powerhouse.
Even with everything going digital, the US printing market is valued at a staggering $86.6 billion in 2025, with 51,228 businesses keeping it humming. Modern digital printing—perfect for getting flyers done quickly—is a major part of that growth, expected to become a $57.08 billion global market by 2033. If you're curious, you can dig into more data about the resilient printing industry on ibisworld.com. This just goes to show how much businesses still count on the impact of physical print.
Decoding Paper Weight
Paper weight, measured in pounds (lb) or points (pt), is all about how sturdy your flyer feels. Heavier paper usually costs a bit more, but it also screams "high quality." Here’s a quick rundown of the usual suspects:
- 80 lb Text: This is a light, flexible paper, a step up from what you'd find in an office printer. It’s a great budget-friendly pick for when you need to print a ton of flyers for mass handouts.
- 100 lb Text: This is the go-to for most professional flyers. It has a satisfying heft that feels premium and durable without being stiff as a board.
- 100 lb Cover (Cardstock): Now we're talking thick and rigid. This is a lightweight cardstock, perfect for flyers that need to stand on their own on a counter or survive a trip through the mail without getting mangled.
Your choice of paper weight is a direct reflection of your brand's perceived value. If you're a luxury brand or promoting a high-ticket service, investing in a heavier stock like 100 lb Cover reinforces that message of quality and permanence.
Selecting the Perfect Finish
The finish is the coating that goes on the paper, and it completely changes how your colors and images look. This decision should really tie into your brand's personality. Are you sleek and modern, or more down-to-earth and classic?
You’ll generally run into three main types of finishes for your flyer printing project:
- Glossy: This finish has a high shine that makes colors leap off the page and images look incredibly sharp. It’s a fantastic choice for photo-heavy designs and gives off an eye-catching, modern vibe. The only downside is that the shiny surface can cause a bit of glare and loves to show fingerprints.
- Matte: A matte finish is the opposite—it’s smooth and non-reflective, giving your flyer a more subdued, elegant look. It’s perfect for flyers with a lot of text because there’s no glare, making it much easier to read.
- Uncoated: Exactly what it sounds like. This paper has no extra coating, so it has a natural, raw texture. It’s the easiest to write on and is often the choice for brands going for an organic, eco-friendly, or minimalist feel. Just know that colors will look a bit softer and more muted on uncoated paper.
Getting Your Artwork Ready for a Flawless Print Run
So you've got a great design on your screen. The next crucial step is making sure it translates perfectly onto paper without any nasty surprises. This is all about prepping your file so the print shop's machines can read it correctly, ensuring what you see on your monitor is what you get in your hands. A few simple setup rules are the secret to sidestepping common, and often costly, printing headaches.
Think of it this way: your computer screen and a printed flyer speak two different languages when it comes to color. Screens make color by adding light (RGB – Red, Green, Blue), while printers mix physical ink (CMYK – Cyan, Magenta, Yellow, Black). If you send an RGB file to a printer, it has to guess at the color conversions, and the results can look faded, off-kilter, and just plain wrong. Always design and save your final print file in CMYK color mode to keep your colors rich and accurate.
Setting Up for a Crisp, Professional Look
Next up is image clarity. The sharpness of your printed flyer comes down to its resolution, which we measure in Dots Per Inch (DPI). An image might look perfectly fine on your website at 72 DPI, but if you print it at that resolution, it will come out blurry and pixelated.
For any professional print job, 300 DPI is the gold standard. This higher resolution packs much more detail into every inch of paper, guaranteeing your photos, logos, and text look sharp and professional. It's best to set your design software to 300 DPI before you even start designing to avoid any low-quality surprises later.
While you're getting your artwork ready, you'll also be thinking about the paper it's printed on. This infographic breaks down the key choices you'll make.
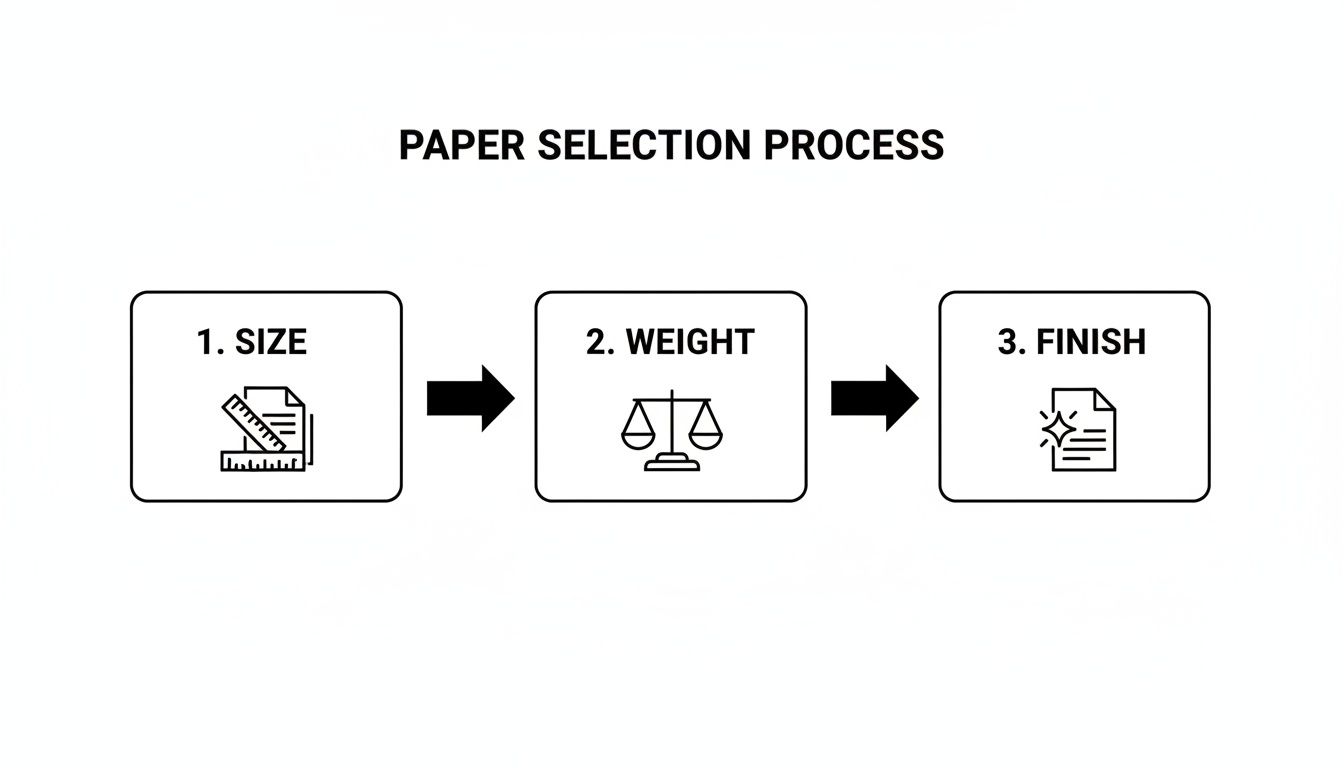
These three elements—size, weight, and finish—are what give your flyer its tangible feel and really elevate its overall quality.
Don't Get Clipped: Why Bleed and Margins Matter
Finally, we need to account for the physical reality of how paper is cut. The big industrial trimmers that print shops use are incredibly precise, but they aren't perfect. We're talking about micro-variations that can result in a frustrating thin white line along the edge of your flyer, or worse, part of your logo or text getting chopped off. This is exactly why we use bleed and safety margins.
Think of bleed as a safety net for your design. It's a small buffer zone that extends your artwork beyond the final cut line, making sure your background color runs beautifully from edge to edge, no matter what.
Getting this right is simple. Just follow these two rules:
- Add a Bleed: Make sure your background colors or images extend 1/8th of an inch (0.125") past the final trim line on all four sides. This extra bit will be trimmed off, but it's your guarantee against any unwanted white slivers.
- Create a Safety Margin: Pull all of your important elements—like text, logos, and key parts of images—at least 1/8th of an inch (0.125") inside the final trim line. This creates a "safe zone" that ensures nothing crucial gets accidentally clipped.
Once you've got these three concepts down—CMYK color, 300 DPI resolution, and a proper bleed setup—your artwork is officially print-ready. Taking care of this upfront saves a ton of back-and-forth with your printer and makes sure the final product is something you can be proud of.
Smart Distribution Strategies to Reach Your Audience
Even the most beautiful, perfectly printed flyer is just expensive paper if it doesn't get into the right hands. You've nailed the design and printing process, but this last step—distribution—is what actually turns your investment into customer conversations and, ultimately, sales.
Think of your flyers like seeds. You wouldn't just toss them out the window and hope for the best, right? A smart distribution strategy is more like precision planting. It’s all about making sure your message lands in fertile ground where it has the best chance to grow. This means looking beyond a single tactic and building a thoughtful plan that matches your campaign goals.
Matching Your Method to Your Mission
The best way to get your flyers out there depends entirely on who you're trying to reach. A local pizza shop's strategy will look completely different from a B2B tech consultant's. The whole idea is to physically place your flyer directly in the path of your ideal customer.
Here are a few time-tested methods to get you started:
- Door-to-Door Drops: This classic move is perfect for location-based businesses like landscapers, real estate agents, or a new neighborhood cafe. It guarantees you hit every household in a specific area.
- High-Traffic Handouts: Handing flyers out in busy public squares, at transit stations, or at relevant events puts your brand directly into the hands of an active audience. This is a go-to for promoting concerts, festivals, or store grand openings.
- In-Store Placements: Team up with other local businesses that serve a similar audience but don't compete with you. A gym, for example, is a fantastic spot for a healthy meal prep service to leave a stack of flyers on the counter.
- Targeted Direct Mail: When you need to reach a very specific demographic, nothing beats direct mail. You can zero in on an audience by income, age, or even recent life events (like new homeowners), making it incredibly effective for specialized services.
Don't sleep on the power of a physical flyer. Research shows flyer response rates can be up to seven times more effective than email, with open rates soaring as high as 85%.
These aren't just vanity metrics; they lead to real results. In fact, around 70% of consumers say flyers have influenced their purchasing decisions. You can dig into more stats about flyer effectiveness for modern businesses on logodesign.net.
Creating a Distribution Action Plan
To really get the most bang for your buck, you'll want to mix and match a few of these strategies.
Let's say you're opening a new coffee shop. You could start with a door-to-door drop in the surrounding three blocks to let your immediate neighbors know you've arrived. Then, have a staff member hand out flyers at the nearest bus stop during the morning commute. You could even partner with the local library and an independent bookstore to leave flyers at their checkout counters.
This kind of layered approach creates multiple touchpoints, reinforcing your message and seriously boosting your chances of success. By thinking carefully about where and how you'll distribute your flyers, you make sure your message doesn't just get seen—it gets results.
Got Questions? Let's Talk Flyer Printing
Even with a detailed plan, a few questions are bound to pop up when you're getting flyers printed. It happens to everyone. Let's tackle some of the most common ones so you can get your project started with confidence.
What’s the Smartest Way to Print Flyers on a Budget?
If you want the best bang for your buck, think bigger. The price-per-flyer drops significantly when you order in larger quantities. It's a simple economy of scale.
You can also keep costs in check by sticking to the classics. Standard paper sizes like 8.5" x 11" and popular paper choices like 100lb gloss text are always going to be more affordable because print shops run them all day long. For smaller jobs—say, a few hundred flyers—digital printing is almost always the cheapest route.
How Long Will It Take to Get My Flyers?
The timeline really depends on what you're ordering. A simple digital print job? We can often have that ready for you in just 1-2 business days.
But if you're ordering a larger batch or need special touches like custom folding or a unique coating, that adds a bit of time to the process. For those jobs, you're usually looking at 3-5 business days. The best advice I can give is to always ask your printer for a timeline upfront so there are no surprises.
A Quick Pro Tip: Digital printing is your best friend for speed and smaller quantities. For massive runs in the thousands, offset printing will give you the most consistent color and the best price.
And what if you're not a designer? Don't overthink it. A strong headline, one great photo, and clear, simple text can be incredibly effective. Many print shops, including ours, have designers on staff who can help polish your idea and make it look professional without breaking the bank.
Ready to create flyers that actually get noticed? The team at Camelot Print & Copy Centers brings together top-notch equipment and decades of hands-on experience to make sure every project is a success. Let us worry about the printing details so you can get back to business. Start your flyer printing project online today!