Ever opened a box of freshly printed flyers or business cards only to find a jarring white sliver along the edge? Your design was supposed to go right to the very edge, but now it just looks… off. This frustrating little problem is exactly why print bleed exists.
Think of it as a small, intentional "overprint" that gives your project a safety net, ensuring a clean, professional finish every single time.
Your Quick Guide to Edge-to-Edge Printing
A great way to visualize print bleed is to imagine painting a room. You don't just paint right up to the edge of the painter's tape; you paint slightly over it. That way, when you peel the tape away, you're left with a perfectly crisp, clean line. Print bleed works on the same principle for your marketing materials.
We extend the background colors, images, or graphics of your design beyond the final trim line. Why? Because commercial printing and cutting are high-speed, mechanical processes. Paper can shift by a hair's breadth during trimming, and without that extra bleed area, even the tiniest misalignment will expose the unprinted white paper underneath.
Why Bleed Is Your Safety Net
Building in a bleed from the start is one of the fundamental things that separates amateur-looking prints from professional-grade marketing collateral. It’s how we guarantee that the color on your brochure extends beautifully from one edge to the other without any unexpected white gaps.
By adding this buffer, you're not just following a technical rule—you are actively insuring your project against tiny imperfections. It’s the small detail that guarantees your final product looks exactly as you envisioned, making the difference between "good enough" and "perfect."
The Technical Need for Bleed
So, what is it exactly? Print bleed is the extra area of your design—typically 0.125 inches (or 1/8 of an inch)—that extends beyond where the final cut will be made.
Even factors like humidity can cause paper to expand or contract slightly, leading to tiny shifts during production. That small bleed margin gives the process a tolerance for error. In fact, over 70% of commercial print jobs, from posters to business cards, need a bleed for a true edge-to-edge finish. To see just how critical this is across the industry, you can review these insights on print production.
Understanding the Anatomy of a Print-Ready File
To really get a handle on print bleed, it helps to stop thinking of your design file as a single flat image. Instead, picture it as having three distinct, crucial zones. Imagine your final printed piece is a photograph in a picture frame. Every part of that photo and frame setup has a counterpart in your digital file, and getting them right is what makes for a perfect final product.
Getting these zones straight from the start is the secret to creating a file that sails through the printing process without a hitch. Let's break down the anatomy of a professional, print-ready document.
The Trim Line
The trim line is the easiest one to understand. It’s simply the final edge where the paper will be cut. In our picture frame analogy, this is the exact size of the photo you see inside the frame. If you're designing a standard 3.5" x 2" business card, the trim line marks those precise final dimensions. It’s the target for the big, powerful cutting machine.
The Safe Area
Moving inward from the trim line, you have the safe area, which you might also hear called the safety margin. This is the zone where all your must-have content—like your logo, text, and contact info—needs to live. Think of this as the main subject of your photograph, the part you absolutely don't want the frame to cover up.
As a rule of thumb, we recommend keeping all vital content at least 0.125 inches inside the trim line. This buffer protects your important elements from getting nipped if there's the slightest shift during the cutting process—and believe me, it happens.
The Bleed Area
And that brings us to the bleed area. This is the part of your design that you intentionally extend past the trim line. In our analogy, it’s the sliver of the photograph that tucks just underneath the edge of the frame, hidden from view but absolutely essential for a clean look.
This concept map breaks down how these three areas work together.

As you can see, the bleed is just an extension of your background color or image. By designing it to go beyond the final cut line, you give the printer a margin for error. When the blade comes down on the trim line, it cuts through this extra ink, ensuring your color goes perfectly to the very edge of the paper. Without it, you're almost guaranteed to get an unsightly and unprofessional white sliver along the border.
Why Print Bleed Is a Deal-Breaker for Professional Results
So, you know what a bleed is. But do you really get why it's a hard-and-fast rule in professional printing? Skipping the bleed isn't just a tiny oversight; it’s a gamble that can wreck your entire print job. The truth is, printing is a physical process with big, fast machines, and there's simply no such thing as a perfect, microscopic cut every single time.
This is where design theory slams into real-world mechanics. Your beautiful designs are printed on large sheets, stacked high, and then sliced down to size with a powerful guillotine cutter. These machines are incredibly precise, but we're still dealing with the physical world. A tiny shift in the paper stack or a slight expansion of the paper from humidity is all it takes to throw things off.
The Real-World Physics of Paper and Blades
A shift as small as 1/32 of an inch—about the thickness of a credit card—is enough to ruin a design that doesn't have a bleed. If the blade lands just a hair outside the intended cut line, it hits blank paper. The result? An ugly, glaring white sliver along the edge of your finished piece. It might seem small on one business card, but it's a disaster when that mistake is repeated across a box of 500.
This is precisely why we say bleed is non-negotiable. It’s your safety net—your insurance policy against the tiny, unavoidable imperfections of a physical production process.
Think of it like a painter taping the edges of a wall. They paint slightly over the tape so that when they peel it away, they get a perfectly crisp line with no unpainted gaps. A print bleed works the same way for the cutting process.
The High Cost of Cutting Corners
Ignoring bleed has consequences that go way beyond looks, hitting you right in the budget and brand reputation. Across the printing industry, files sent without proper bleed are a top reason for rejection, accounting for a whopping 22% of all print file issues. Those mistakes force reprints and cause delays, costing U.S. printers an estimated $1.2 billion every year.
Here’s a stat that should get your attention: a trim error of just 1/64-inch that exposes a white edge can tank the perceived professionalism of a document by 25%. It’s a tiny mistake with a huge impact. For a deeper dive into the technical standards, you can explore the fundamentals of print bleed) on Wikipedia.
This isn't just a technical footnote. It's about protecting your brand. Whether it's a menu, a brochure, or a banner, that clean, edge-to-edge color screams quality and attention to detail. Skipping the bleed puts your entire investment, your deadline, and your professional image on the line—all because of a simple, preventable setup error.
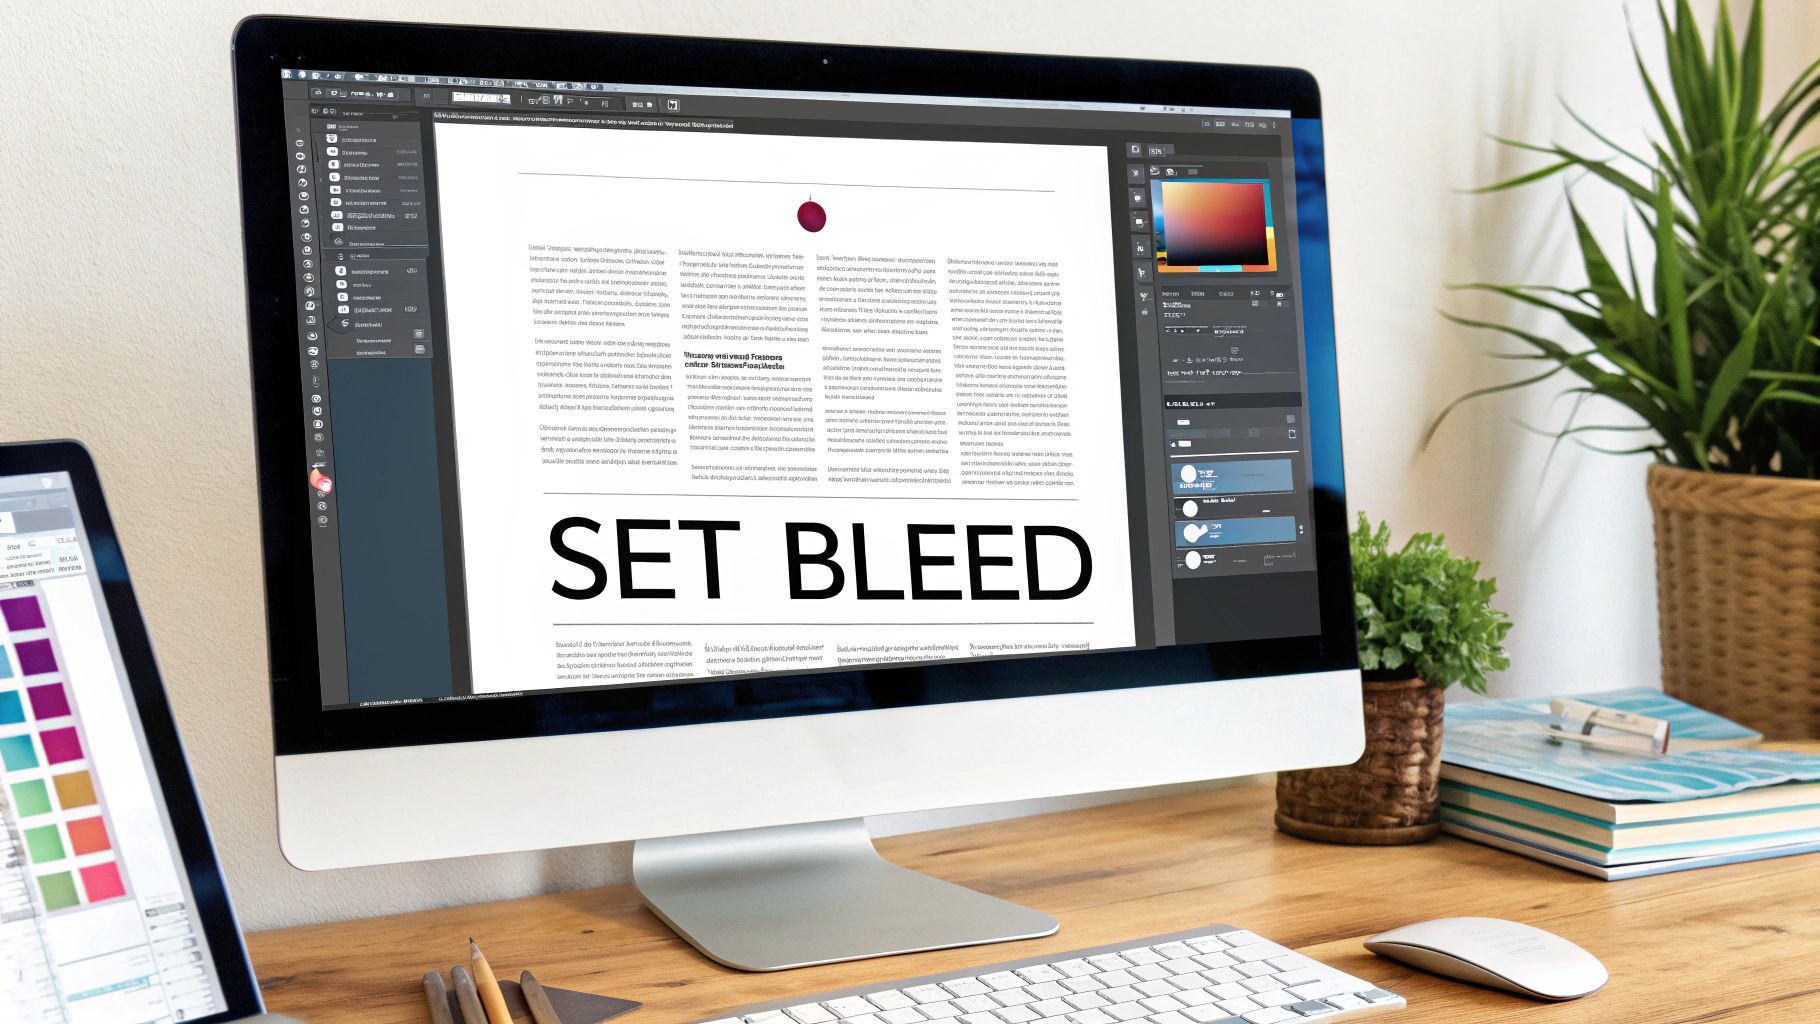
How to Set Up Print Bleed in Your Design Software
Alright, you get the why behind print bleed. Now for the how. This is where the rubber meets the road—getting those settings right inside your design software.
The good news is that industry-standard programs like Adobe InDesign, Illustrator, and Photoshop all have ways to handle this. Honestly, the single biggest favor you can do for yourself (and your printer!) is to set up your bleed from the get-go. It saves you from that painful moment of having to stretch or fake parts of your design after you've already perfected it.
Whether you're starting fresh or need to fix a file someone else sent you, the process is pretty simple. Think of it as part of the foundation of your project, not an afterthought.
Setting Up Bleed in Adobe InDesign
For anything with multiple pages—brochures, magazines, booklets—InDesign is king. It's built for print, and setting up bleeds is baked right into its DNA.
- Start a New Document: Fire up InDesign and go to
File > New > Document. - Find the Bleed and Slug Section: In the New Document window, you'll see a panel on the right. Just look for the "Bleed and Slug" dropdown menu and click to expand it.
- Plug in the Numbers: For almost every job we see, you'll enter 0.125 in (which is 1/8 of an inch). Make sure the little chain link icon is active; that'll automatically apply the value to the "Top," "Bottom," "Left," and "Right" fields for you.
Hit "Create," and you'll see your new document. The black line is your trim edge, and that new red line around the outside? That's your bleed line. Your mission is simple: make sure any background colors or images stretch all the way out to that red line.
Setting Up Bleed in Adobe Illustrator
Illustrator is the go-to for vector work like logos and icons, and it’s fantastic for single-page designs like flyers, posters, and business cards. The setup here is just as easy as in InDesign.
- Create Your New File: Head up to
File > New. - Locate the Bleed Fields: As you set up your artboard dimensions, you'll find the "Bleed" settings right below them.
- Enter the Standard Bleed: Same as before, just type 0.125 in for all four sides.
And just like that, a red border appears around your artboard. This is your visual cue—your bleed zone. Fill it! If you forgot to do this when creating the document, no sweat. Just go to File > Document Setup and you can add the bleed in there.
Setting Up Bleed in Adobe Photoshop
Now for Photoshop. Since it's a raster-based program (think pixels, not vectors), it handles things a bit differently. There isn't a simple "bleed" button to push. You have to build the bleed into the canvas size yourself.
A Quick Word of Advice: While you can design for print in Photoshop, it’s not really what it’s built for, especially with layouts that have a lot of text. For a combination of sharp text and images, you'll get much better, more professional results by sticking with InDesign or Illustrator.
If you must use Photoshop, here’s how to do it right:
- Do the Math First: Take your final trim size (say, an 8.5" x 11" flyer) and add 0.25" to both the width and height. Why? Because that gives you the standard 0.125" bleed on all four sides (0.125" on the left + 0.125" on the right = 0.25").
- Set the Document Size: For our 8.5" x 11" flyer example, you'd create a new document that is 8.75" x 11.25".
- Create Your Own Guides: This is the most important step. Once your canvas is made, add guides that are 0.125" in from all four edges. These guides become your visual trim line, showing you where the paper will be cut. This helps you keep your important stuff safely inside the lines while reminding you to extend the background all the way to the edge of the canvas.
Getting Your File Ready for a Flawless Print Run
Alright, you've done the hard part. You’ve created a beautiful design, meticulously extended your artwork to the bleed line, and made sure all your crucial text is tucked safely inside the margins. Now for the final handoff—exporting a file that our presses can actually understand and use.
This last step is where a lot of projects hit a snag. A perfect design is useless if it's saved in the wrong format, and getting this wrong is one of the most common reasons for print delays.
Think of it this way: you wouldn't just hand someone a freshly baked cake. You’d put it in a sturdy box to make sure it arrives in one piece. Exporting your design as a print-ready PDF is that protective box, locking in all your hard work for a safe journey to the printer.
The PDF: Speaking the Printer’s Language
For professional printing, there's one format that rules them all: the Portable Document Format (PDF). It’s the undisputed industry standard, and for good reason. Unlike a native file from Adobe InDesign or Illustrator, a PDF flattens your project into one self-contained package.
It's a universal file that any professional printer, including us here at Camelot Print & Copy Centers, can open and print with predictable, consistent results. Everything gets locked into place, which means no surprise shifts or missing elements. Most importantly, a PDF carries all the hidden instructions our machines need to get the job done right.
Your Essential Export Checklist
When you're ready to export, just hitting "Save as PDF" isn't quite enough. You need to flip a few switches to tell the software—and our equipment—exactly what to do.
Pick the Right PDF Preset: First things first, look for a high-quality print setting. In your export options, presets like [PDF/X-1a:2001] or [High Quality Print] are your best friends. They're built to keep colors accurate and images sharp for commercial printing.
Turn on the Printer’s Marks: Next, find the "Marks and Bleeds" tab in your export dialog box. This is where you add the vital instructions for our production team.
- Crop Marks: These are tiny lines in the corners of the page that show our team precisely where to trim the paper.
- Bleed Marks: Be sure to check the box that says "Use Document Bleed Settings." This tells the software to include that extra 0.125-inch bleed area you so carefully set up.
Ticking these boxes is like adding a blueprint to your file. It removes all the guesswork and tells our cutting equipment exactly where to make the cut for that perfect, edge-to-edge finish you're after.
Don't Let Your Fonts Betray You
One final check can save you from a design disaster: making sure your fonts come along for the ride. If you send a file with live text and we don't have the exact same font installed on our system, our computers will try to substitute it with something else. Trust me, you won't like the result.
You have two rock-solid ways to prevent this:
- Embed All Fonts: The easiest option. Most high-quality PDF presets do this for you automatically. It simply packages all the necessary font data right into the file itself.
- Convert Text to Outlines: This is the nuclear option, and it's foolproof. This command turns your letters into vector shapes. They're no longer editable text, but instead, they're graphics that will look identical on any machine, anywhere.
Nailing these export steps means your file can fly through our production process without delays or the need for costly corrections.
Common Print Bleed Mistakes and How to Avoid Them

Getting your head around print bleeds is a huge step toward getting professional results. But even designers who've been at this for years can fall into a few common traps that end in frustration and expensive reprints. Knowing what to look for is the secret to getting your files right on the first try.
One of the most common blunders we see is when a background image or color stops right on the trim line instead of extending past it. This basically cancels out the whole point of a bleed. Any tiny shift from the cutting machine, and you'll get that dreaded, unprofessional-looking white sliver along the edge. Always, always stretch your background elements all the way out to the bleed line.
Designing Too Close to the Edge
Another classic mistake is putting important stuff—like your logo, a headline, or contact info—way too close to where the page will be cut. It's a gamble you just don't want to take. No matter how perfectly you set up the bleed, the physical reality of a blade cutting through stacks of paper means there will be tiny variations. Push your content too close to that line, and you risk slicing it right off.
The fix is simple: respect your safe area.
- A Good Rule of Thumb: Keep any critical elements at least 0.125 inches away from the final trim line.
- Think of it as a Buffer Zone: This margin creates a "no-go" area for your most important content, guaranteeing it won't get clipped during trimming.
Forgetting to Include Bleeds When You Export
You can do everything right in your design file, but if you forget to actually include the bleed information when you export your PDF, it's all for nothing. It’s an easy thing to miss, but it will bring the entire project to a screeching halt.
Your export settings are your final handshake with the printer. It’s your last chance to give them the right information. Always double-check your PDF settings to make sure "Use Document Bleed Settings" is checked and that crop marks are included. That simple step ensures all your careful work translates perfectly to the final print file.
In some fields, this isn't just a best practice; it's a necessity. For architects, something as simple as humidity causing paper to stretch can throw off alignment enough to reveal unprinted edges in nearly 18% of cases if a bleed wasn't used. Skipping this step can lead to big rework fees, but getting it right from the start protects your budget and ensures the quality you expect. You can learn more about how environmental factors impact printing and require this kind of precision.
By sidestepping these common mistakes, you’ll ensure a much smoother production process. More importantly, you'll save yourself the time, money, and headache of having to fix and resubmit your files.
A Few More Questions About Bleed
Even after getting the basics down, you probably still have a few questions floating around. That’s completely normal. Let's tackle some of the most common ones we hear from designers.
Does Every Single Print Job Need a Bleed?
Honestly, no. If your design is intentionally framed by a crisp white border—where nothing is meant to touch the edge—you can skip the bleed setup.
But for anything else? If you have a background color, a photo, or any design element that you want to run right to the very edge of the paper, then bleed is non-negotiable. It’s the only way to guarantee a professional, seamless finish.
What’s the Go-To Standard for Bleed Size?
For the vast majority of print jobs—think business cards, flyers, brochures, and reports—the industry standard is 0.125 inches, or 1/8 of an inch. You'll want to add that extra margin to all four sides of your design.
Now, if you're working on something much bigger, like a trade show banner or a large-format poster, those rules can change. It's always a smart move to check the specific bleed requirements for oversized projects before you get too far into the design.
Can I Just Add a Bleed to a File I Already Made?
Maybe. It really comes down to how the original file was built. If your background images or color blocks are already oversized, you can probably just expand the document's canvas and pull those elements into the new bleed area. Easy peasy.
The real headache comes when your artwork stops exactly at the trim line. In that case, you'll have to manually go in and extend those elements. Sometimes it's a quick fix, but other times it can mean a significant redesign to make it work.
Ready to get your project off the ground? The team at Camelot Print & Copy Centers is here to make sure your files are set up for success and your final product looks absolutely perfect. Submit your print-ready files today!