Your menu is so much more than a list of what's coming out of the kitchen. It’s your restaurant's silent salesperson, pulling up a chair at every single table, every single night.
When you think about it, a thoughtfully designed menu is one of the most powerful marketing tools you have. It sets the stage, tells your story, and can seriously influence what your guests decide to order. The feel of a professionally printed menu in a customer's hands can elevate their entire experience before they’ve even taken a bite.
Your Menu Is Your Hardest-Working Sales Tool
Consider your menu the very first handshake between a guest and your culinary vision. It's their roadmap for the meal, their sneak peek of what's to come, and often, the final nudge that helps them choose an entrée.
A flimsy piece of paper with faded ink might suggest that the details don't matter much around here, which can cheapen the perception of your food before it even leaves the kitchen. On the flip side, a menu with some heft to it, with vibrant colors and crisp text, tells a different story. It quietly communicates the care and quality you pour into every corner of your business.
This is why the physical details—the weight of the paper, the texture of the finish—are so important. They build an immediate impression of professionalism. Investing in quality menu printing isn't just another line item on your budget; it’s a direct investment in your restaurant's brand and, ultimately, its profitability.
Why Quality Printing Makes a Real Difference
A well-printed menu does more than just present your offerings. It gets to work for you in a few critical ways:
- It Sells for You: Smart design choices can subtly draw a customer's eye right to your most profitable dishes. Think of it as a built-in upsell.
- It Tells Your Story: The paper stock and design you pick instantly communicate your restaurant's vibe. Are you a cozy, rustic cafe or a sleek, upscale dining room? Your menu should reflect that.
- It Improves the Guest Experience: A clean, durable, and easy-to-read menu makes ordering a breeze. It sets a positive, hassle-free tone for the entire meal.
Here's something to think about: studies have shown that a well-designed menu can boost a restaurant's profits by as much as 10-15%. When you pair a strategic layout with professional printing, your menu stops being a simple list and becomes a finely tuned sales tool.
This guide is designed to walk you through all the decisions you'll need to make, from paper and finishes to layout and folds. Once you understand the options, you can create a menu that not only looks fantastic but can also handle the wear and tear of a busy service.
Ready to create a menu that works as hard as you do? Get a quote today and let's bring your vision to life.
Choosing the Right Paper and Finishes
Your menu isn't just a list of food; it's the first tangible piece of your restaurant a customer interacts with. The paper's weight, texture, and finish are just as important as the design itself. They send powerful cues about your brand's quality before anyone even decides on an appetizer.
Getting these physical details right is about more than just looking good—it’s about creating a menu that can handle the chaos of a busy dinner service.
This flowchart shows how every design choice, right down to the paper, turns your menu into an effective sales tool.
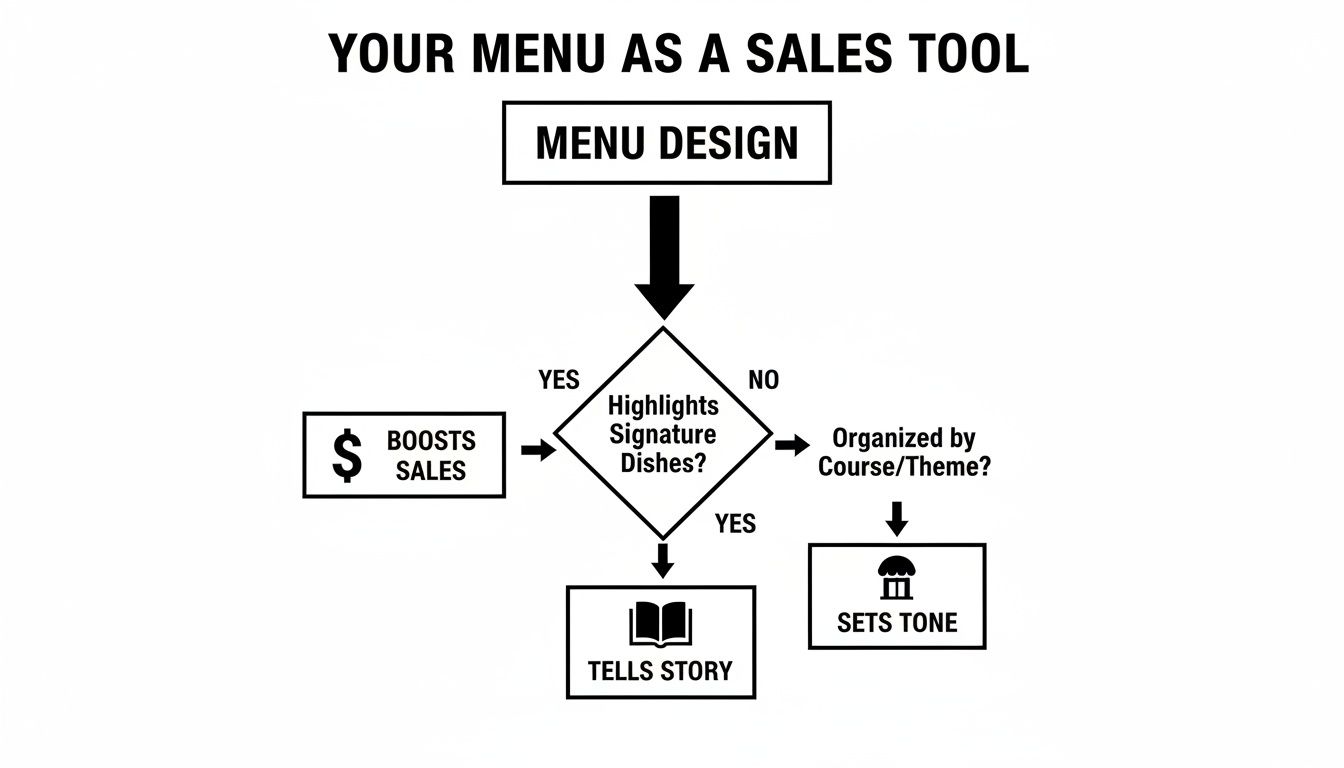
As you can see, the menu works hard to tell your story, set the mood, and gently guide customers toward your most profitable dishes.
H3: Why Paper Weight Matters
Ever been handed a flimsy, thin menu? It feels cheap. Now think about a menu with some heft to it—one that feels sturdy and substantial. That instant feeling of quality comes from the paper’s weight.
For most menus, a heavier paper like a 100lb cover stock is the way to go. It feels premium in a customer's hands and signals that you care about the details. It's also a practical choice. Thicker paper resists bending, tearing, and those dreaded dog-eared corners, which means you won't have to reprint them nearly as often.
H3: Finding the Perfect Paper Stock
Beyond its weight, the actual type of paper stock you choose sets the entire mood. Each one has a distinct personality that should match your restaurant’s vibe.
- Uncoated Stock: This paper has a natural, slightly textured feel. It’s the go-to for rustic farm-to-table spots, cozy cafes, or any brand wanting to project an organic, down-to-earth image.
- Gloss Stock: With its shiny, reflective surface, gloss paper makes colors pop and food photos look irresistible. It's a fantastic choice for diners and family restaurants where vibrant, mouth-watering pictures do the selling.
- Matte Stock: If you're going for a modern, sophisticated look, matte is your answer. It has a smooth, non-glare finish that feels elegant and makes text easy to read in any lighting. It’s a perfect fit for upscale bistros and fine dining.
The right paper stock does more than just hold ink; it becomes a part of your brand's identity. An uncoated, recycled paper tells a story of sustainability, while a sleek matte finish speaks of modern luxury.
This attention to detail should extend beyond the menu itself. Creating a cohesive guest experience also means thinking about selecting appropriate paper products for your establishment, from the menus to the napkins on the table.
H3: Add a Protective and Stylish Finish
A finish is the final layer of your menu—part protective shield, part stylistic flourish. It's what safeguards your investment from the daily grind of spills, smudges, and constant handling.
To help you decide, here’s a quick guide to pairing the right materials and finishes for your specific needs.
Paper Stock and Finish Selection Guide
This table should give you a solid starting point for mixing and matching to achieve the perfect balance of style and function.
Lamination: Your Menu’s Best Friend
For almost any restaurant, lamination is a no-brainer. This thin plastic film makes your menus water-resistant, tear-proof, and incredibly easy to wipe clean. It’s your front-line defense against spills and sticky fingers. You can choose from gloss lamination for a vibrant shine or matte lamination for a soft, high-end feel.
Specialty Finishes for That "Wow" Factor
Ready to make a serious impression? Specialty finishes add a touch of luxury that customers will notice.
- UV Coating: A liquid coating cured with UV light, this creates an ultra-shiny, tough surface. Apply it everywhere (flood UV) or just to your logo for a cool contrast effect (spot UV).
- Foil Stamping: This process uses heat to press metallic foil onto the paper. It's perfect for adding an elegant shimmer of gold, silver, or copper to your restaurant's name or logo.
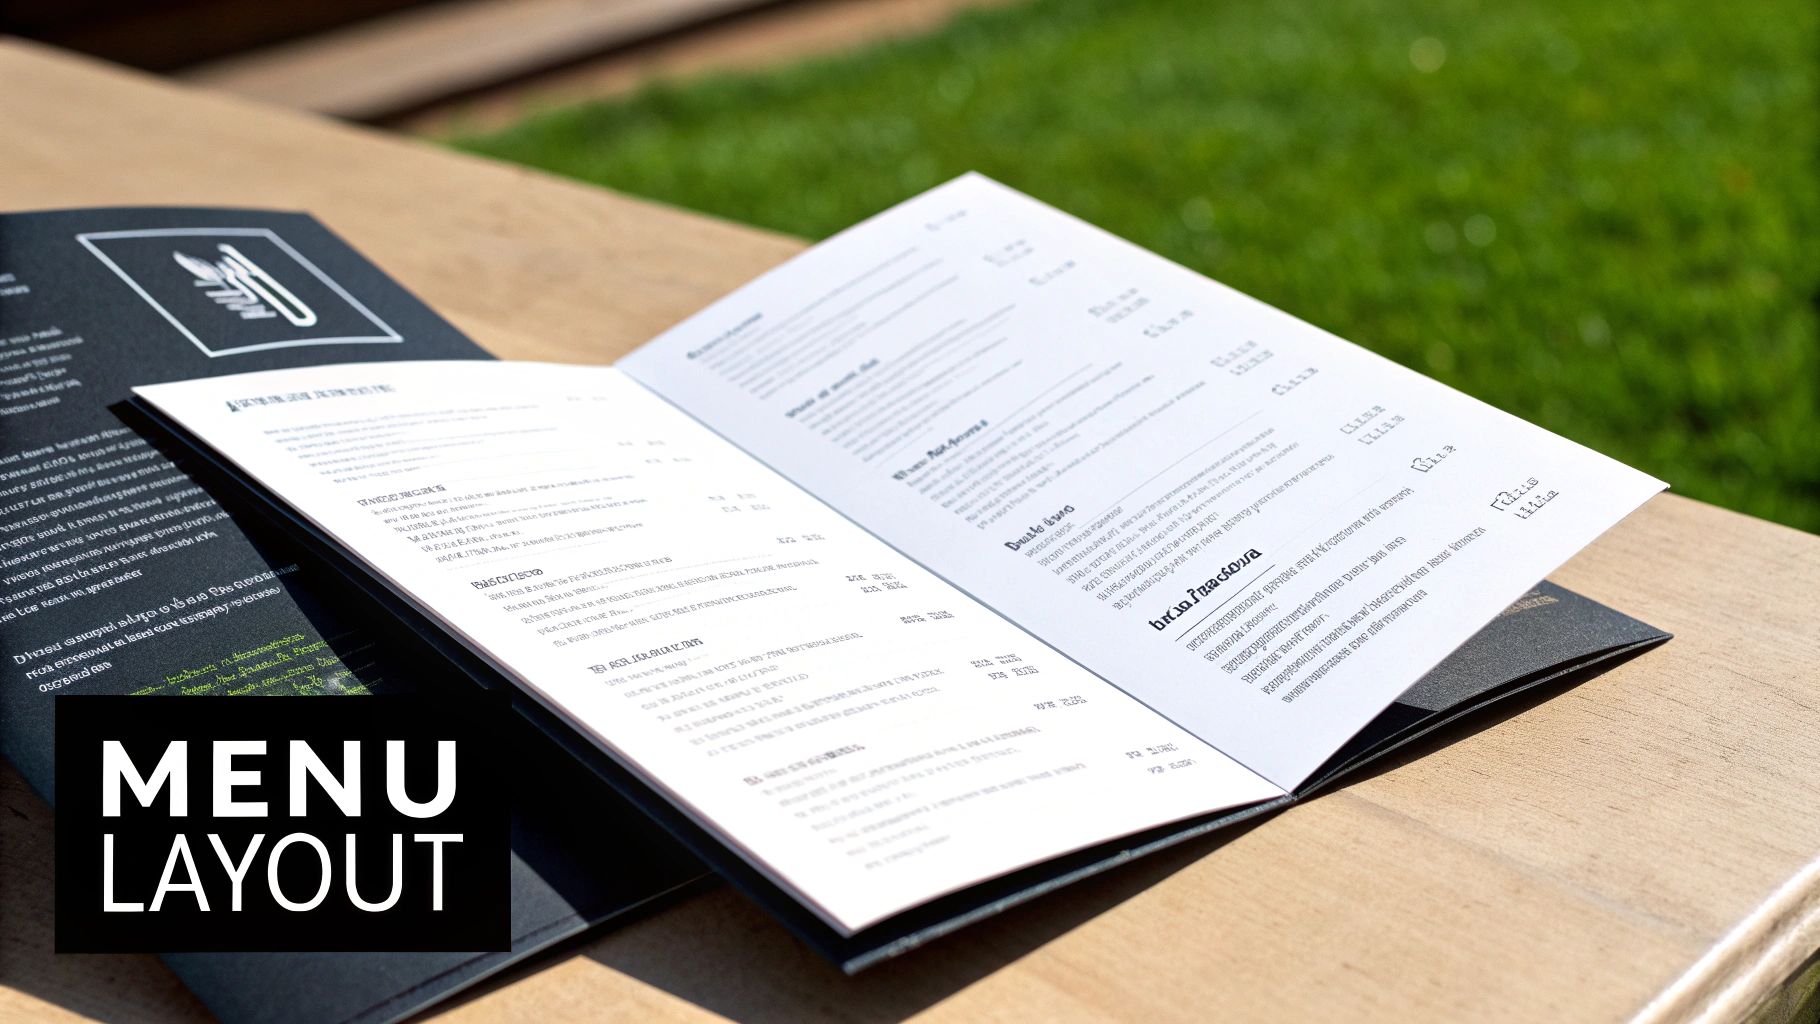
Choosing the Right Menu Size, Folds, and Format
Think of your menu's physical format as the first handshake with your customer. It sets the stage, guiding their eyes and subtly shaping their ordering decisions. The right combination of size and fold turns a simple list of dishes into an intuitive, enjoyable experience that feels right at home in your restaurant.
Getting this right is a cornerstone of any successful food business. It's no surprise that the global commercial printing market—which handles essentials like menu production—is expected to climb from roughly USD 837.20 billion in 2025 to USD 940.54 billion by 2030. This isn't just about ink on paper; it's about restaurants recognizing that high-quality printed materials are a powerful tool for building their brand and boosting sales. You can dig into more data on the value of commercial printing services to see the full picture.
Common Menu Sizes and When to Use Them
The size of your menu needs to make sense for two things: the number of items you offer and the amount of space on your tables. Get it wrong, and the menu can feel awkward for your guests and clutter up the dining experience.
- Standard Letter (8.5" x 11"): This is the trusty workhorse of the menu world. It’s familiar, versatile, and gives you plenty of room for a solid menu without being overwhelming. It’s the go-to choice for casual diners, family restaurants, and bistros.
- Legal Size (8.5" x 14"): Those extra three inches of length are surprisingly useful. They give you just enough breathing room to add a beverage list or separate out sections without making the page feel crammed. This size is great when you have a bit more to show than a standard letter menu can handle.
- Large Format (11" x 17"): Think of this as the panoramic view for your food. It’s perfect for restaurants with a massive selection—like classic diners or places with extensive wine lists—where you want customers to see everything at a glance. When you fold it in half, it creates a really substantial four-page booklet.
Think of your menu size like a plate. You wouldn't serve a small, elegant tasting dish on a giant platter, and you wouldn't cram an entire multi-course feast onto a tiny card. The format should always match the feast.
A Look at Popular Menu Folds
Folds are where the real magic happens, blending function with a touch of creative flair. They break your menu down into manageable sections, creating a natural path for your customers to follow.
- Single Panel / Flat Menu: Simplicity at its best. This is the perfect format for cafes with a tight, focused menu, for specialty cocktail lists, or as an insert for daily specials. The clean, direct presentation gets straight to the point.
- Bi-Fold Menu: The classic book style. Just one fold down the middle gives you four distinct panels (a front and back cover, plus two inside pages). It feels organized and familiar, which is why it’s one of the most popular choices for all kinds of restaurants.
- Tri-Fold Menu: This versatile fold gives you six panels (three on each side), offering up some serious real estate for organizing your offerings. It’s a fantastic way to neatly tuck appetizers, entrées, desserts, and drinks into their own columns, guiding the customer’s eye exactly where you want it to go.
- Gate-Fold Menu: This one adds a bit of drama. Two outer flaps open from the center to reveal a larger inner panel. A gate-fold creates a sense of reveal and is a brilliant way to spotlight signature dishes or a special chef's tasting menu right in the center.
Nailing the right combination of size and fold is a huge step in professional menu printing. The ultimate goal is to create a menu that not only looks great but also makes it effortless for your guests to browse their options. Ready to find the perfect format for your restaurant? Get a free quote today, and our experts can help you make the best choice.
Getting Your Menu Files Ready for a Flawless Print Run
So you’ve got a fantastic menu designed on your screen. The next step—and it's a big one—is getting that digital file ready for the printing press. This is where the magic happens, but it’s also where things can go wrong if you’re not careful. Think of this as the final prep work in a kitchen; getting it right ensures the final dish is perfect. A little attention to detail here will save you from the headache and cost of a reprint.
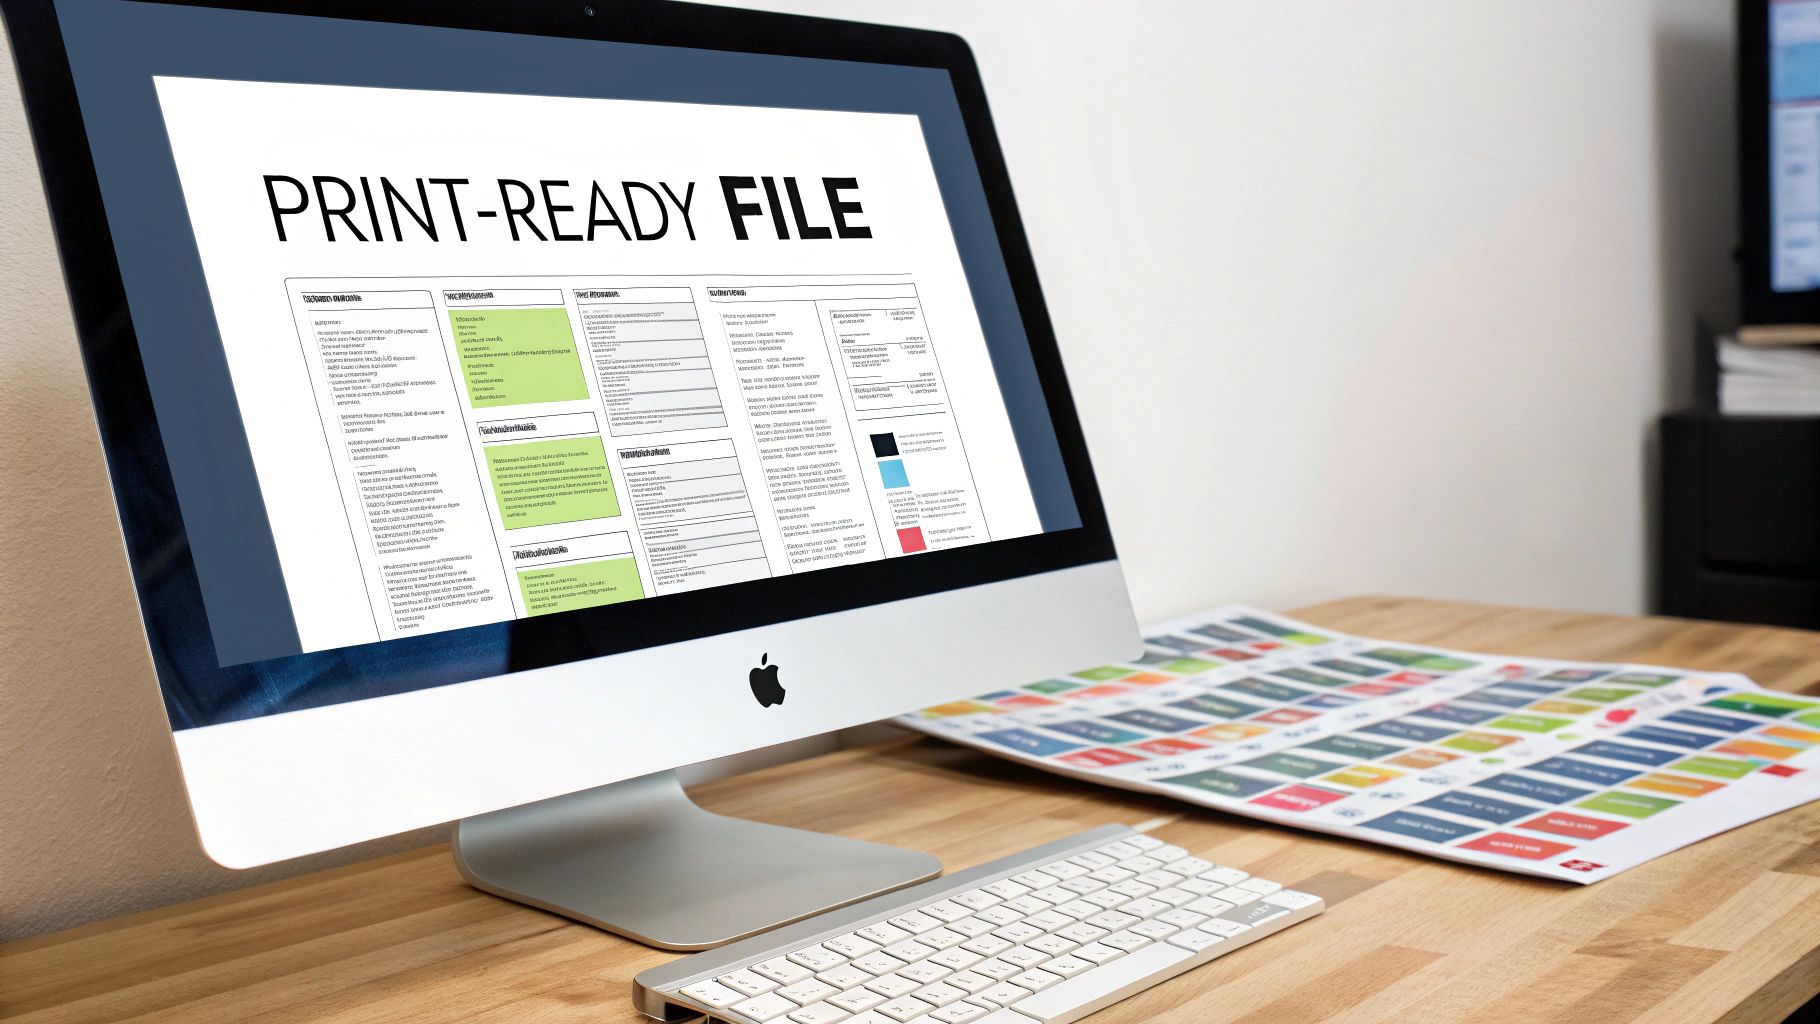
We're going to walk through the three non-negotiables for a print-ready file. Nail these, and what you see on your monitor will be exactly what your customers hold in their hands.
High-Resolution Images are a Must
You’ve seen it before: you try to enlarge a photo, and it turns into a blocky, pixelated mess. That’s exactly what happens when you print a low-resolution image. Your mouth-watering food photos will look blurry and completely unprofessional.
To get that crisp, appetizing look, every image in your menu file needs to be 300 DPI (dots per inch). That's the gold standard for professional printing. An image that looks perfectly fine on a website (which is usually just 72 DPI) will simply not cut it for a physical menu.
Here’s a pro tip: If you pulled an image from a Google search or your website, it's almost guaranteed to be too low-res for printing. You need to start with original, high-quality photos or buy stock images specifically made for print.
Set Your Color Mode to CMYK
Here’s something many people don't realize: the colors on your screen and the colors from a printer are created in two completely different ways. Your monitor uses light—mixing Red, Green, and Blue (RGB)—to make colors. Printers use ink—mixing Cyan, Magenta, Yellow, and Black (CMYK).
If you send us an RGB file, our software has to make its best guess at converting the colors to CMYK. This often leads to disappointing surprises, like your vibrant brand red turning into a dull, muddy brick color. To avoid this, always set up your design software to CMYK mode right from the start. It’s the only way to get predictable, accurate colors on the final product.
Don't Skip the Bleed
Ever see a printed piece with a weird, thin white line along the edge where the color was supposed to go all the way? That’s what happens when a file isn't set up with a "bleed."
When we print, we print on large sheets and then trim them down to size. Even with the most precise equipment, the paper can shift by a tiny fraction of an inch during cutting. A bleed is basically extra image or background color that extends beyond the final trim line of your menu. It’s your safety net.
Think of it like coloring in a coloring book. You color a little bit over the lines so that even if you don't cut perfectly, there won't be any white showing. We need that same buffer on your print files.
The Print-Ready File Checklist
- Resolution: All photos and graphics must be 300 DPI. No exceptions.
- Color Mode: Your entire file should be designed in the CMYK color space.
- Bleed Area: Extend your background design 1/8th of an inch (0.125") past the final trim edge on all sides.
Getting the bleed right is essential for a professional finish. If you want to dig a little deeper into this, we have a great resource that explains what a print bleed is and why it's so important.
Ready to move forward? Our team is here to help make sure your files are perfect. Get a free quote, and we'll take a look to ensure your menus come out looking fantastic.
Getting a Handle on Menu Printing Costs
When you're running a restaurant, every dollar counts. It's tempting to look for the cheapest option on everything, but when it comes to menu printing, the initial price tag is only one part of the equation. To make a truly smart investment, you need to understand all the moving parts that contribute to the final cost. This way, you get a menu that not only looks great but also holds up to the daily grind.
Think of the true cost as a mix of your choices in materials, the size of your order, and how quickly you need it. Each of these decisions directly impacts your budget, but they also affect how long your menus last and how well they represent your brand.
Key Factors Driving Your Menu Printing Costs
So, what actually determines the final price of your print job? It really boils down to a few key variables, with paper and quantity being the big ones. A thick, premium paper stock or a special finish like foil stamping is naturally going to be a bigger investment than a standard, lightweight paper.
Likewise, how many menus you order makes a huge difference. Every print job has setup costs, and that initial expense gets spread across all the menus you print. This is why the price per menu drops as your order size goes up—it's a classic case of economies of scale. You can dive deeper into this in our article exploring what influences color printing costs.
The Trade-Off: Order Size vs. Turnaround Time
Ordering in bulk has always been the go-to strategy for reducing your per-item cost. If your restaurant has a core menu that stays the same for a long time, placing a large order for hundreds of menus is a no-brainer. You lock in a great price and won't have to think about reordering for months.
But that approach doesn't work for everyone. If your business is built around seasonal specials or you're constantly tweaking your offerings, a huge print run can quickly turn into a pile of expensive, outdated paper. In that case, smaller, more frequent digital print runs might be the smarter play, giving you the flexibility to adapt.
The hidden cost of a cheap menu is the price of reprinting it. A flimsy, unlaminated menu might save you money upfront, but it will quickly become dog-eared, stained, and torn, forcing you to place another order far sooner than you planned.
The Hidden Costs of Cutting Corners
Beyond just the printing bill, there are other costs to consider when you opt for low-quality menus. A cheap-looking menu can seriously damage your brand's image. It can make your whole operation feel less professional and subtly undermine the amazing food you're serving.
For businesses with multiple locations, these costs multiply fast. One analysis of a 10-store chain found that menu printing averaged $200 per store for each update. That adds up to $24,000 annually before you even factor in shipping and labor. When all was said and done, the total hard costs easily hit $39,000 a year—a number that balloons for larger chains.
Balancing Your Budget for Maximum Value
To make the right call, you have to think about your menu's lifecycle. How often do you really plan on making changes? How much abuse will your menus take on a daily basis? Answering these questions will help you find that perfect balance between the upfront cost and long-term value.
Of course, printing is just one piece of the puzzle. A truly profitable menu also depends on smart pricing, which means keeping a close eye on your ingredient expenses. Using a food cost percentage calculator can give you the clarity you need to ensure your menu is a money-maker.
Putting a little more money into a durable paper stock with a protective laminate finish might feel like a splurge initially, but it pays for itself in the long run. Your menus will last longer, look better, and continue to reflect the quality of your restaurant.
Ready to find the right balance for your budget and brand? We can help you weigh the options.
Get a quote today to explore pricing for your next menu printing project.
It’s Time to Bring Your Menu to Life
We’ve covered a lot of ground together, from picking the perfect paper to getting your digital files just right. All that planning is about to pay off. Now comes the exciting part: turning your vision into a real, tangible menu that will wow your customers and boost your bottom line.
The final step is finding a printer who gets it—someone who understands your goals and can execute your project flawlessly. Choosing the right print partner is every bit as critical as the design itself. You need a team that's as obsessed with precision and quality as you are.
Your Expert Partner in Print
For over 25 years, Camelot Print & Copy Centers has been the go-to local printer for businesses that refuse to settle for second best. We pair top-of-the-line equipment with friendly, hands-on service, making the whole process feel easy and collaborative. With our experience, we know how to sidestep the usual headaches and deliver a finished product that you'll be genuinely excited about.
So, whether you have a print-ready file ready to go or just a spark of an idea, we’re here to make it happen.
Your menu is a direct reflection of your brand's commitment to quality. We ensure the printed result is something you can be proud to place on every table, representing the hard work you put into every dish.
Is your design still a work in progress? No problem. Our team can help bring your concept to life. You can learn more about our in-house graphic design services and how we can build a menu from the ground up that perfectly captures your restaurant's unique vibe. We'll take care of the layout, typography, and file prep, ensuring a professional result every single time.
Don't let a mediocre print job undermine all the hard work you've put into creating an amazing dining experience. Let's work together to create a durable, beautiful menu that works as hard as you do.
Ready to see what a difference professional quality and dedicated service can make? Get a quote from our team today and let’s get started on your perfect menu.
Common Questions We Hear About Menu Printing
As you get closer to hitting "print," you're bound to have a few last-minute questions. It's totally normal. To help you feel confident in your final decisions, we’ve rounded up the questions we hear most often from restaurant owners just like you.
What’s the Toughest, Most Durable Paper for a Menu?
If you're looking for a menu that can withstand the daily grind of a busy restaurant, you can't go wrong with a heavy card stock—something like a 100lb cover or thicker—that’s been laminated. This combination is pretty much the gold standard for durability.
The heavy stock gives the menu a solid, premium feel in the customer's hands and resists bending and creasing. Then, the lamination adds a protective seal, making it easy to wipe off spills and food smudges. Whether you go for a glossy shine or a more subtle matte finish, this duo keeps your menus looking sharp day in and day out.
How Often Should I Get New Menus Printed?
This really depends on your restaurant's style and how often you're swapping out dishes. For a place with a consistent, core menu, reprinting every 6 to 12 months—or simply when they start looking a little worn—is a great rule of thumb.
On the other hand, if your kitchen is all about seasonal specials and frequent updates, reprinting the whole menu every time would get expensive fast. A more practical approach is to design your main menu to accommodate smaller, easily swappable inserts. That way, you can print fresh updates quarterly or even monthly without breaking the bank.
A professional designer does more than just make your menu look good. They ensure it functions as an effective sales tool and is technically sound, preventing costly printing errors that can delay your launch and hurt your budget.
Do I Really Need to Hire a Professional Designer?
It can be tempting to try designing your menu yourself to save a few bucks, but investing in a professional designer almost always pays for itself. A good designer brings two huge advantages to the project.
First, they’re experts in using layout and visual cues to guide your customers’ eyes toward your most profitable items. They turn your menu into a silent salesperson. Second, and just as crucial, they know how to prep a file perfectly for print—with the right bleeds, resolution, and color profiles. This technical know-how saves you from common (and costly) mistakes that could ruin an entire batch of menus.
What’s the Difference Between Digital and Offset Printing?
The choice between digital and offset printing boils down to two things: how many menus you need and how quickly you need them.
- Digital Printing: This is your go-to for smaller batches, usually anything under 500 copies. The setup is quick and simple, so you can get your menus fast. It’s perfect for restaurants that update their offerings all the time or just need a small run to get started.
- Offset Printing: For large orders, offset is the way to go. The initial setup is more involved, but the cost per menu drops dramatically the more you print. It’s the most economical option for big print runs.
We can walk you through the specifics of your project to figure out which method makes the most sense for your budget and timeline.
Ready to create a menu that not only looks fantastic but also works hard for your business? The team at Camelot Print & Copy Centers is here to guide you with expert advice and top-notch printing. Get a free quote today and see why local restaurants have trusted us for over 25 years.