You have a big event coming up. Maybe it is a trade show in Albany, an open house in Hopewell Junction, a school event in the Hudson Valley, or a client presentation where your table setup has to do a lot of work in a small amount of space.
You need something that looks polished, travels easily, and tells people who you are before you even start talking.
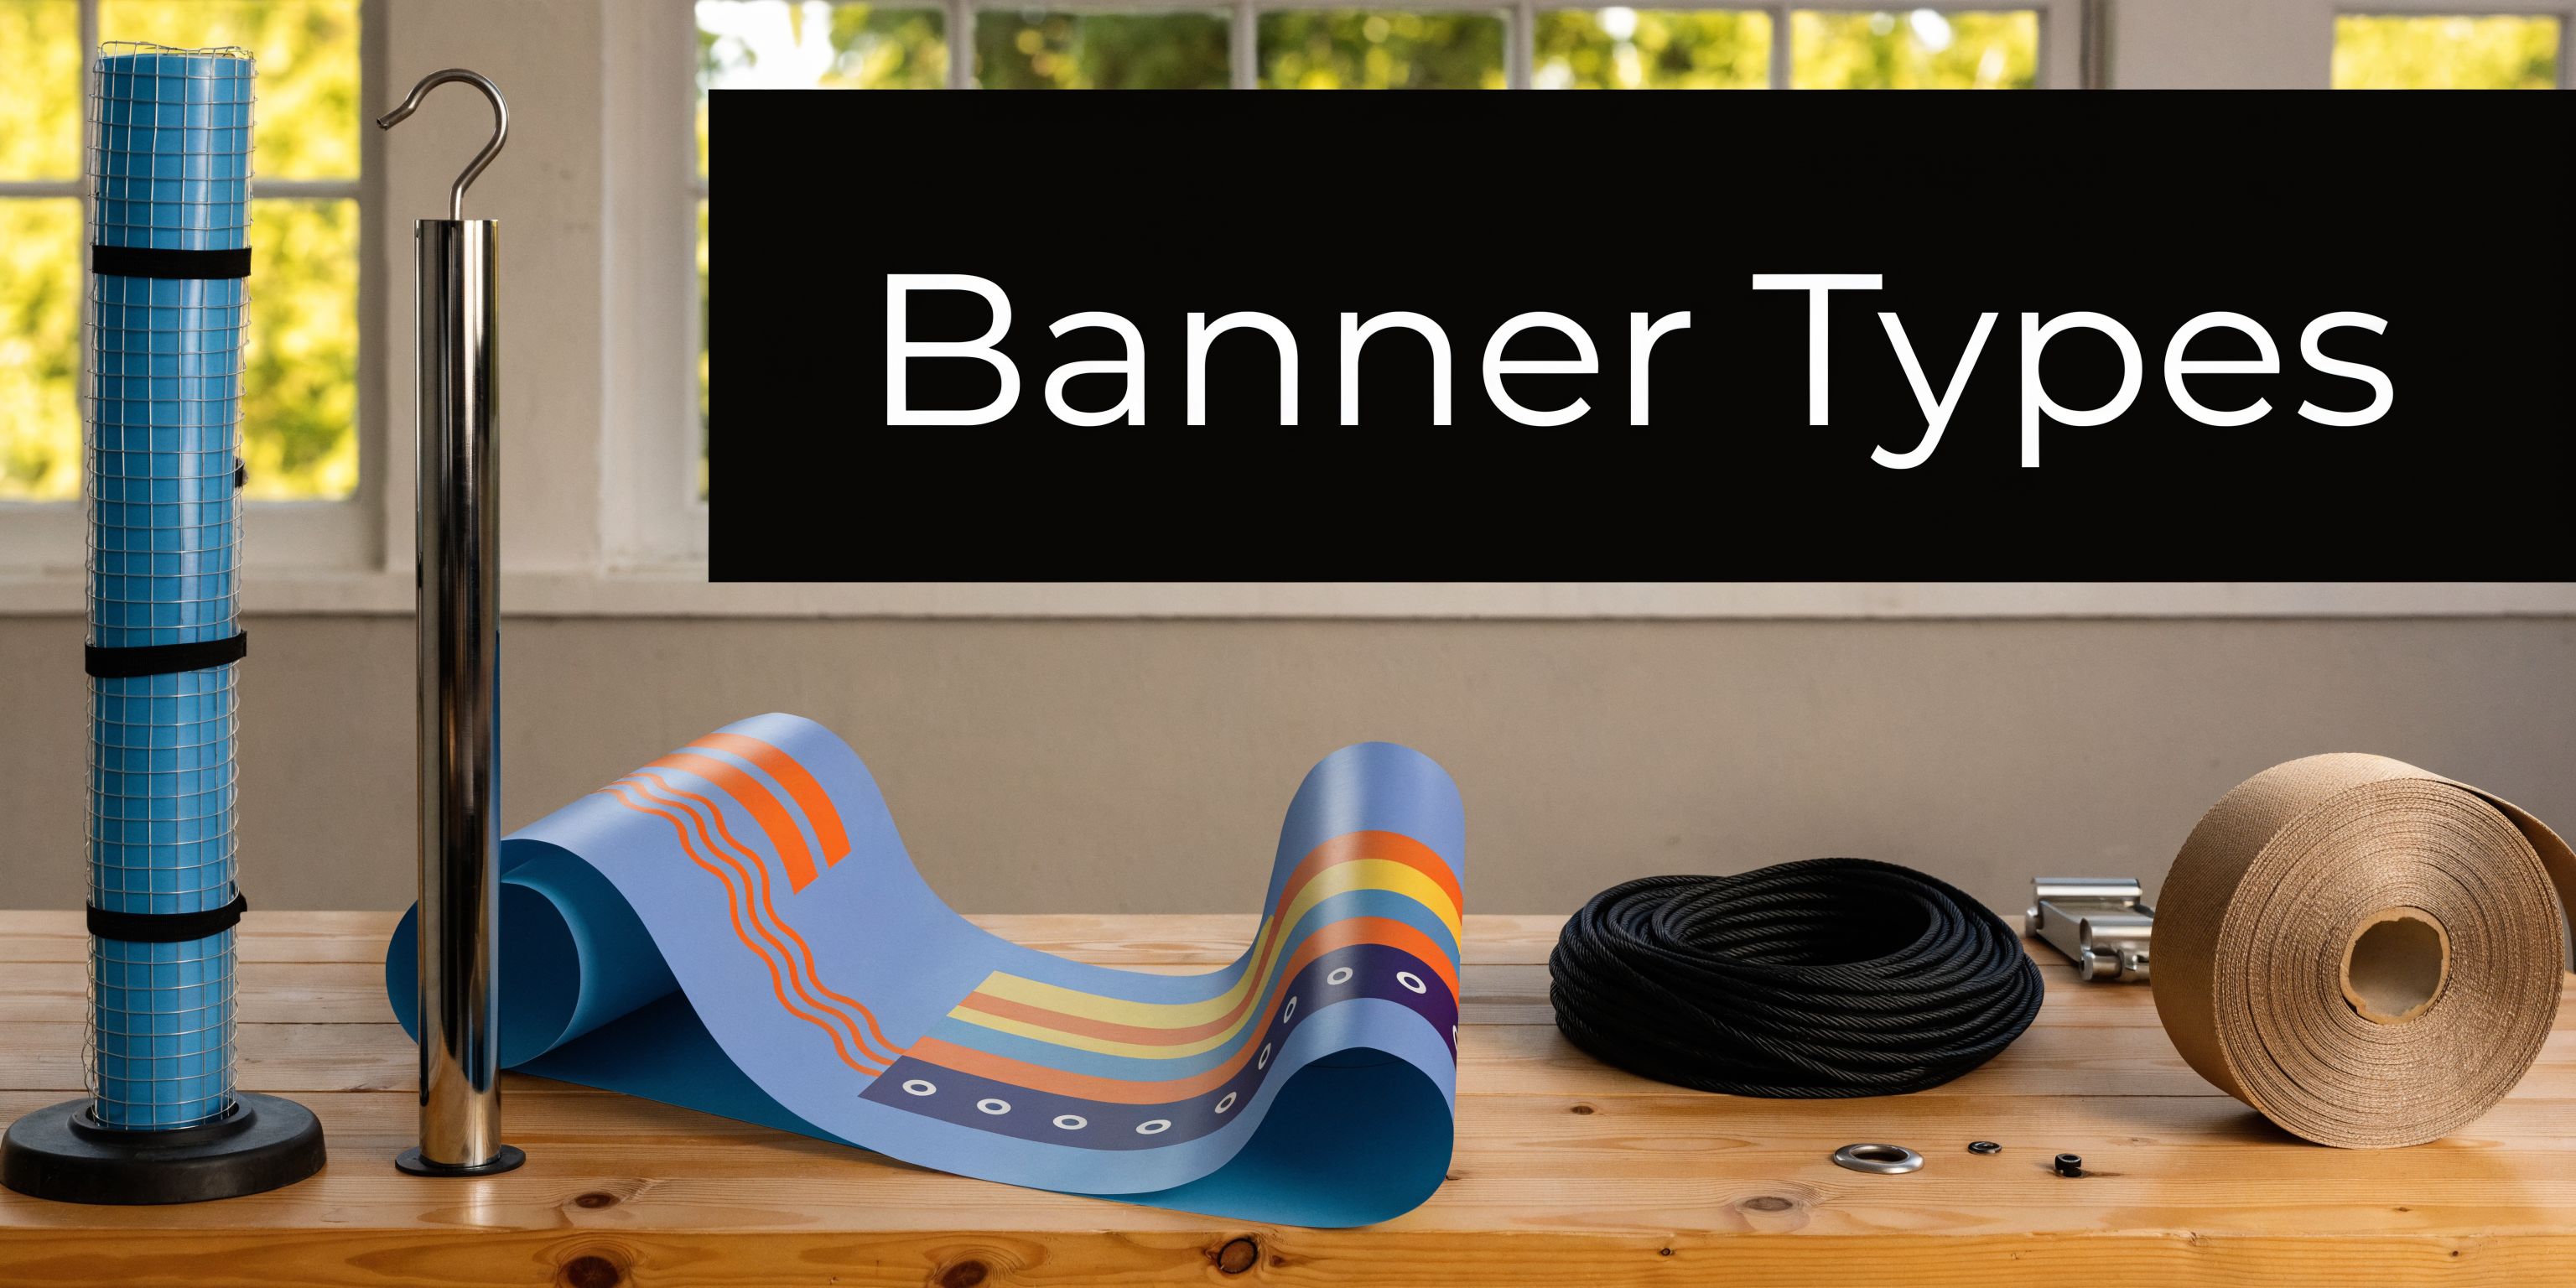
A pop up banner solves that problem. It gives you a tall, professional sign that stands on its own, packs into a carry case, and works in places where wall space is limited or temporary signage is the only practical option. For a first-time buyer, though, the terminology can get messy. People call them pop up banners, retractable banners, roll up banners, pull up banners, and sometimes even pop up displays when they mean something else entirely.
This guide clears that up in plain language. It also covers the design rules, material choices, setup habits, and ordering steps that make the difference between a banner that gets noticed and one that fades into the background.
Your Essential Tool for Standing Out
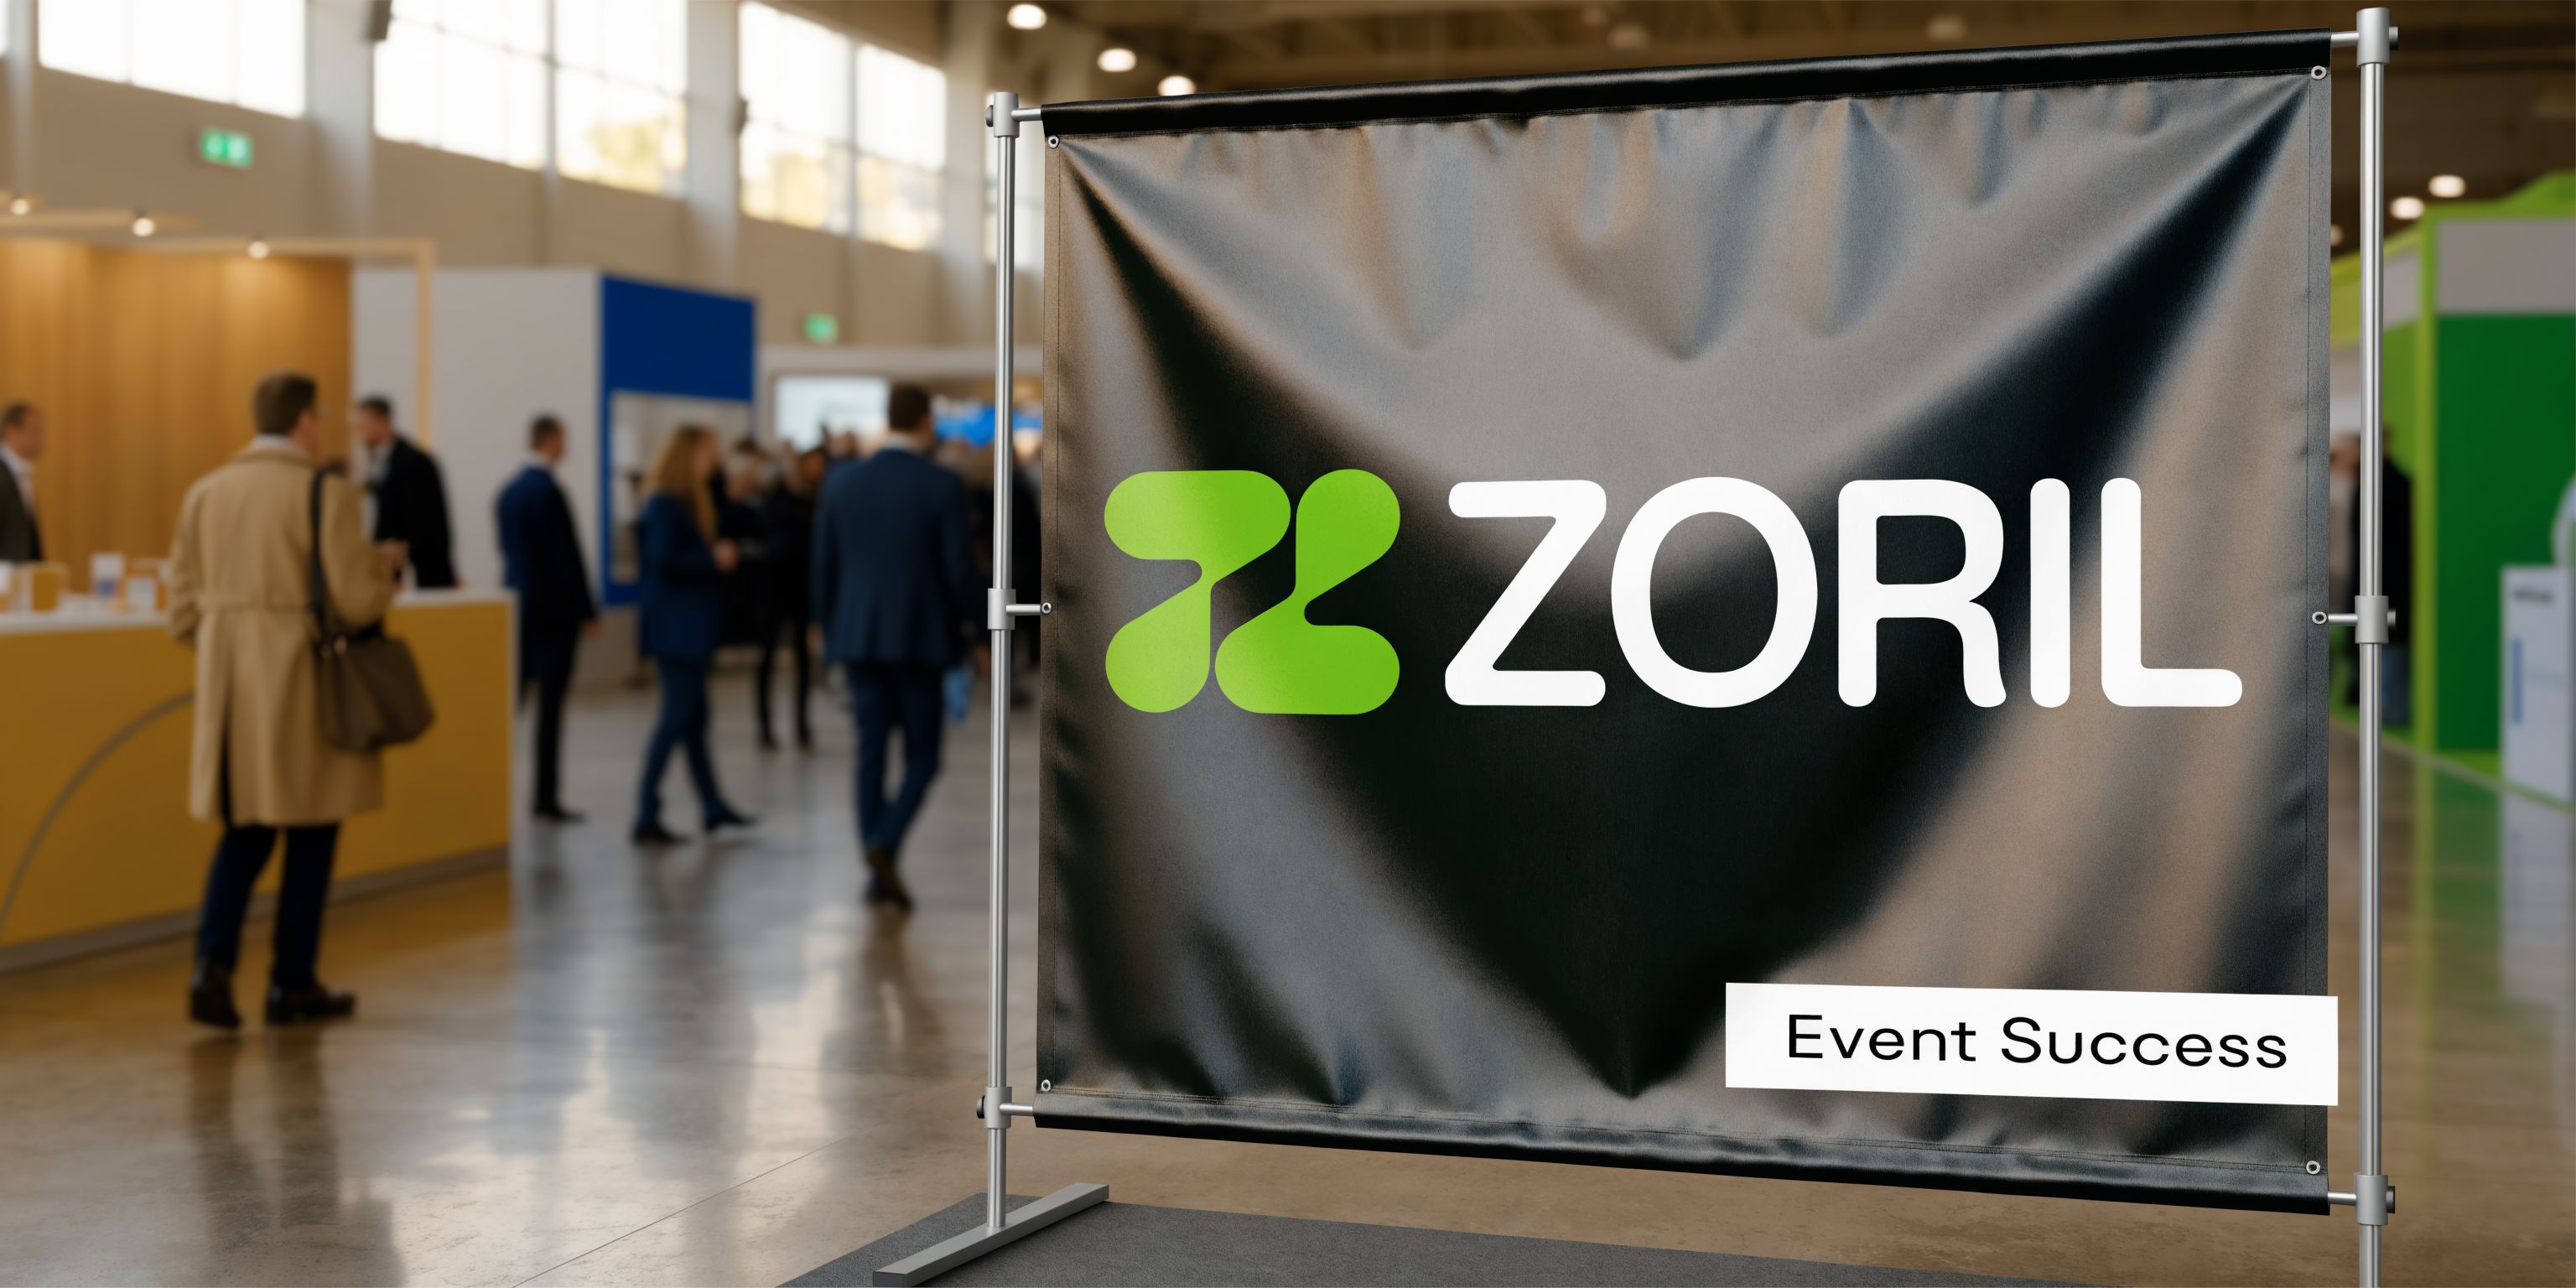
A pop up banner earns its keep when you need to make a strong first impression without building a full booth. You carry it in, pull the graphic up, secure the pole, and your brand has a visible presence in the room.
That matters because most events are busy and visually noisy. People scan, not study. A freestanding display helps them identify your business quickly, even from across an aisle or lobby.
The phrase “pop-up” can be confusing because many people think of web ads first. That connection is understandable. The first digital pop-up ad was invented in 1997 by Ethan Zuckerman, and that early format reportedly reached a 44% click-through rate before users pushed back and browsers began blocking intrusive ads. The same source notes that the U.S. signage industry was valued at over $16.7 billion in 2025, which helps explain why physical displays still matter in a world full of screens (history of online advertising).
A printed pop up banner solves a different problem. It gets attention without interrupting anyone.
For a local business, that makes it a practical part of a broader outreach plan. If you are mapping events, promotions, direct mail, social posts, and in-person networking together, this small business marketing plan is a useful reference for organizing the bigger picture.
A good pop up banner is not just a sign. It is a portable first impression.
Pop Up, Ret retractable, or Roll Up Banner What Is the Difference
Most of the time, these terms mean the same product.
A pop up banner, ret retractable banner, roll up banner, and pull up banner describes a printed graphic that rolls into a self-contained base. You pull it upward, attach it to a support pole, and the banner stands upright on its own.
That simple mechanism is what separates it from other display products.
The retractable style most buyers mean
When a customer asks for a pop up banner, they mean a ret retractable stand with three parts:
- A base or cassette that holds the rolled graphic
- A pole that supports the height
- A printed panel that pulls up from the base
This style is popular because the hardware protects the graphic during transport. When the event is over, the banner rolls back inside the base instead of being folded or loosely packed.
That is why it feels tidy and professional compared with signs that need clips, ropes, or improvised hanging methods.
How it differs from similar products
Some confusion comes from the fact that several display types live in the same family. They all show a printed message, but they do not work the same way.
| Display type | How it works | Best use | Main drawback |
|---|
| Retractable banner | Graphic rolls into a base | Lobbies, trade shows, events, presentations | Shows one focused message |
| X-banner | Graphic attaches to an X-shaped frame | Budget indoor promotions | Less polished hardware, more exposed edges |
| Vinyl banner | Flexible banner hangs with grommets or poles | Outdoor promotions, fences, walls | Needs a place to hang it |
| Fabric pop-up display | Graphic wraps over a larger collapsible frame | Backdrops and booth walls | Bulkier and less grab-and-go |
An X-banner is lighter-duty. It uses tension from flexible rods instead of a retracting base. It can work for short-term indoor use, but it does not give the same stable, finished appearance.
A traditional vinyl banner is different again. It is just the printed sheet. You still need hooks, a wall, a frame, or another support method to display it.
A fabric pop-up display is the one that creates the most naming confusion. That product uses an accordion-style frame and a much larger printed graphic, often for booth backdrops. It is not the same thing as the slim, vertical retractable sign often desired for quick setup.
Why the naming confusion matters
The name matters because it affects price, file setup, material choice, and event planning.
If you ask for a “pop-up display” when you really need a retractable banner, you may get quoted for a large booth wall instead of a portable sign for your table. If you ask for a “banner” with no detail, you might get pricing for a grommeted vinyl banner that cannot stand on its own.
A clearer request sounds like this:
- I need one retractable pop up banner
- It will be used indoors
- I need it to stand next to a table
- I need easy transport and solo setup
That level of detail helps a printer recommend the right hardware from the start.
If the graphic pulls up from a base and rolls back inside after the event, you are almost certainly talking about a retractable pop up banner.
Anatomy of a High-Impact Ret retractable Banner
A retractable banner has only a few visible parts, but each one affects how the display looks on event day and how long it lasts after the tenth setup, not just the first. For a law office heading to a bar association event, an engineering firm presenting at a public hearing, or a healthcare practice setting up in a clinic lobby, that difference shows up quickly.
The base controls stability and lifespan
The base, often called the cassette, is the housing that stores the printed graphic and keeps the stand upright. It works like the frame of a suitcase. If the shell is weak, the contents may still look fine at first, but travel wears everything down faster.
Heavier is not always better. Stable is better.
A good base should feel planted on the floor, open smoothly, and protect the graphic during transport. In real use around the Capital Region and Hudson Valley, that matters in spaces with foot traffic, uneven floors, or frequent moves between offices, courthouses, schools, hospitals, and trade events. A shaky stand can make a polished brand look careless.
This is one area where a full-service local printer helps. Camelot can match the hardware to the setting instead of sending a one-size-fits-all unit from a warehouse shelf. That is especially helpful for regulated and detail-sensitive fields where presentation and reliability both matter.
The pole keeps the banner straight and properly tensioned
The pole looks simple, but it does an important job. It holds the graphic at the correct height and keeps enough tension on the print so the banner stays smooth instead of curling or sagging.
Some stands use a fixed-length pole. Others use a telescopic pole, which adjusts during setup. A telescopic option can help when you want finer control or need to fit different hardware styles. A fixed pole can be perfectly suitable for routine indoor use if the hardware is well made.
The key point is fit. If the pole does not seat securely in the base or hook cleanly into the top rail, the whole display can lean.
The graphic material affects print quality, durability, and appearance
The printed panel does the public-facing work. It carries your logo, colors, message, and contact details. It also takes repeated stress every time it rolls into the base and back out again.
Material choice affects more than durability. It also changes how the banner looks under indoor lighting. Some banner films stay flatter, resist edge curl better, and block light from showing through the back. That last point matters in bright lobbies and conference rooms where washed-out color can make a banner look cheaper than it is.
If you are comparing material options and hardware styles, Camelot’s overview of banner printing for business displays and events gives useful context.
The top rail and bottom edge matter more than first-time buyers expect
The top rail is the strip that clamps or adheres to the upper edge of the graphic. The bottom attachment anchors the print inside the base. If either connection is weak or uneven, the banner may track slightly off-center as it retracts.
That can lead to small problems that become expensive ones. The print may curl, wrinkle, or rub against the hardware over time. For firms that reuse the same banner at proposal meetings, recruiting fairs, public information sessions, or community events, those details affect how long the display stays presentable.
Online ordering portals rarely slow down to explain that kind of hardware difference. A local print partner usually will.
Finish should match the room
Finish changes readability. A matte or low-glare surface is often the safer choice for interior spaces with overhead lighting, sunlight from windows, or glossy floors. A gloss surface can make colors feel stronger, but reflections can interfere with text and logos.
That is why context matters. An AEC firm displaying project qualifications in a municipal meeting room has different needs than a school admissions team building a school branding strategy for open houses, and both differ from a medical office using a banner near a reception desk.
A high-impact retractable banner is really a system. The base protects it, the pole supports it, the material shapes how it prints and wears, and the finish determines how well people can read it in the room where it will be used.
Designing Your Banner for Unmistakable Readability
A busy morning in Albany or Poughkeepsie makes this easy to understand. Someone walks into a conference lobby, courthouse event, hospital recruiting fair, or municipal meeting room, glances up for two seconds, and keeps moving. Your banner has to do its job in that short window.
That is why readability matters more than squeezing in every detail. A retractable banner works best when it delivers one clear message fast, then gives interested people one simple way to learn more.
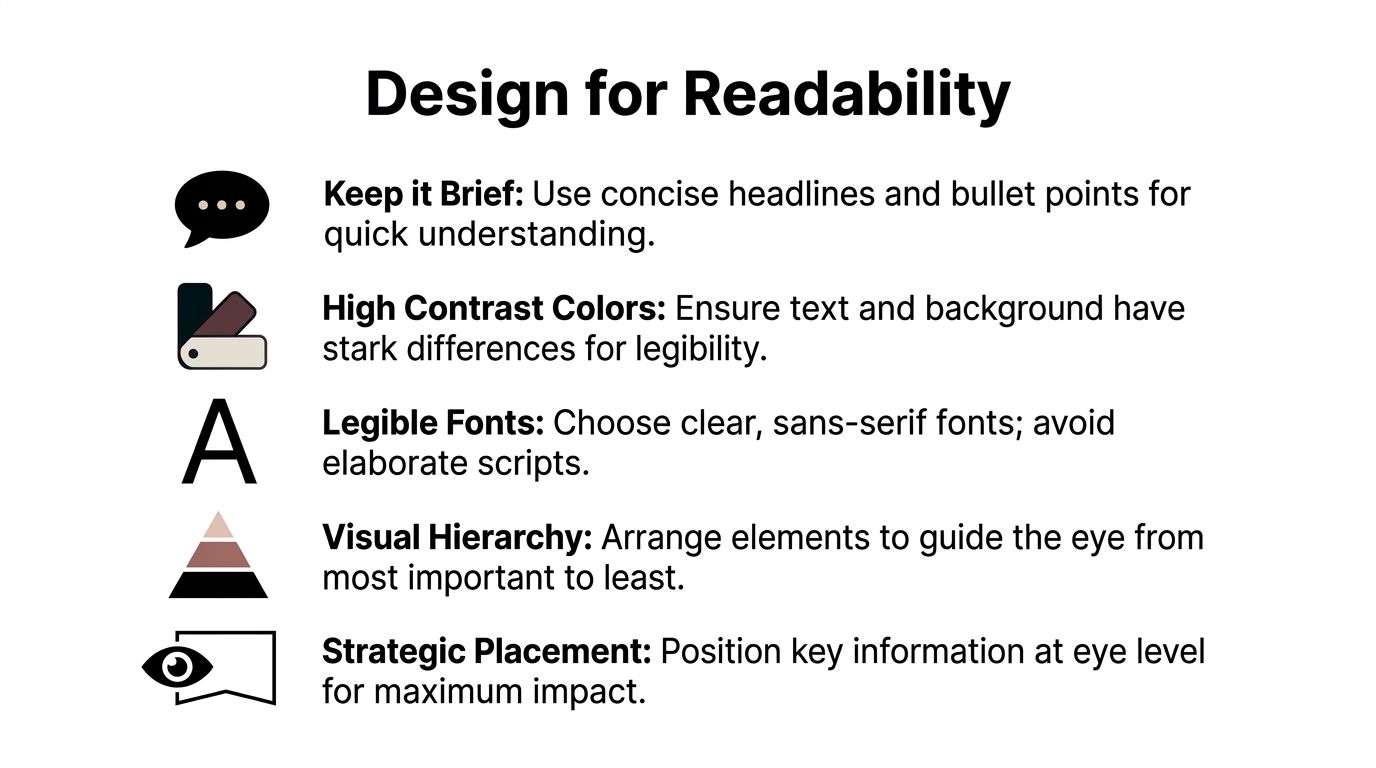
Build the layout in the order people read it
A tall banner should guide the eye from top to bottom.
Top
Put your logo, firm name, or strongest headline at the top. This area gets noticed first from a distance.
Middle
Use the center for the supporting message. A short service list, one strong image, or a brief value statement usually works well.
Bottom
Place contact details, a website, or a QR code near the bottom. By that point, the headline and middle section should have earned enough interest for someone to look lower.
That reading path feels natural because it matches how people scan a vertical display in real rooms, not just on a computer screen. For businesses ordering custom display banners and retractable stands, this simple structure usually produces the clearest result.
Screen-friendly design often fails in person
A banner can look balanced on a laptop and still feel crowded at event distance.
Large-format design needs fewer words, larger type, and more open space than first-time buyers expect. If the proof looks a little sparse on screen, that is often a good sign. The banner is being built for someone standing across the room, not for someone zooming in at 125 percent.
That matters even more for AEC firms, law offices, medical practices, and other organizations that need to look clear and credible. In regulated or specialized fields, a cluttered banner does more than look busy. It can make the message feel less organized and less trustworthy.
Use type that can be read quickly
Readability starts with hierarchy. People should know what to read first, second, and third without effort.
A good rule is simple:
- One headline
- One short supporting message
- One call to action
- Plenty of breathing room around each element
Script fonts, thin type, and long paragraphs usually create trouble. So does placing important text over a detailed photo. If the background is busy, add a solid color block or a clear overlay behind the words so the message stays readable.
DPI and bleed in plain English
DPI works like the detail in a tile mosaic. Bigger tiles create a rougher image. Smaller tiles create a smoother one.
For banner printing, the goal is enough detail at the final printed size so photos, logos, and text edges look clean when the piece is standing at full height. Files that start too small and get enlarged later often lose sharpness. That is one of the most common problems with artwork supplied through anonymous online portals, especially when nobody reviews the file with you before production.
Bleed is extra background image or color that extends beyond the final edge of the banner. Wrapping paper uses the same idea. You need a little extra material past the edge so a slight shift does not expose a white strip.
If you are new to print buying, this is one of the biggest advantages of working with a local full-service printer. A Camelot team member can review the file, flag resolution issues, explain safe areas, and help prevent mistakes before the banner goes to press.
Keep the message short enough to grasp in passing
A banner is usually read while someone is walking, waiting, or scanning a room. That setting rewards restraint.
Strong banners usually include:
- One main headline
- One brief proof point or service line
- One image or graphic
- One next step
For schools and educational organizations, the same principle applies. A clean admissions message usually outperforms a crowded layout full of competing points. If you are planning broader institutional visuals beyond a single display, this guide to school branding strategy is a useful complement.
Contrast decides what survives at a distance
Contrast is the difference between a banner that gets understood and one that gets ignored.
Dark text on a light background is usually the safest choice. Light text on a dark background can work well too, but only if the background stays clean and consistent. Low-contrast combinations may look stylish up close and disappear from ten feet away.
A quick test helps. Step back from the proof or shrink it on screen until it is small. What vanishes first is usually what needs to be simplified, enlarged, or given more contrast.
The best banner designs feel almost obvious. That is not because they are simplistic. It is because every design choice helps the viewer understand the message quickly.
Choosing the Right Banner for Your Industry and Use Case
The right pop up banner depends less on trend and more on context. The same stand can solve very different problems for a consultant, a contractor, a school, or a law office, but only if the design and material match the setting.
One product, very different jobs
A solo consultant heading to a networking breakfast needs a lightweight indoor banner with one message. The goal is recognition. Name, specialty, logo, and contact path.
A retailer may use the same type of stand near an entrance for a seasonal offer, inside a window line, or beside a product table. In that setting, quick visual impact matters more than detailed explanation.
An AEC firm has a different challenge. The display may need to support technical graphics, site-related messaging, or branded visuals for public meetings and bid presentations. That can call for wider hardware, more durable material, and careful handling of diagrams or plan-based imagery.
A law office has its own needs. The setting is more formal, and the banner has to look clean, restrained, and trustworthy. A cluttered promotional style can feel out of place in a legal environment.
Regulated industries have extra requirements
Regulated industries have extra requirements. Many online templates fall short in addressing these.
A 2025 Printing Industries of America report found that 68% of small and mid-sized businesses in regulated sectors like AEC, legal, and healthcare struggle to find marketing materials that meet their specific functional and compliance needs. The same source notes that generic templates fail where specialized support is needed, such as weather-resistant vinyl, precise color matching, and large-scale graphics for technical plans (industry-specific banner needs).
That rings true in day-to-day print work. A healthcare office may care about clear patient-facing messaging and easy-to-clean display surfaces. A construction team may need outdoor durability. A school may need a banner that works for admissions one week and an event welcome sign the next.
These are not cosmetic details. The key impact is whether the banner is usable in its intended environment.
A simple way to choose
If you are not sure what kind of retractable banner you need, start with the setting.
| Use case | What matters most | What to ask for |
|---|
| Networking and trade shows | Portability, quick setup, clear headline | Standard retractable banner with focused layout |
| Retail and lobby displays | Visual appeal, branding, repeat use | Durable indoor graphic with clean color matching |
| AEC and field presentations | Durability, larger visuals, technical clarity | Wider format and material suited to harder use |
| Legal, healthcare, education | Professional tone, consistency, functional accuracy | Custom layout that fits the organization’s standards |
If you want to compare display options before choosing, this overview of display products helps show where retractable banners fit alongside other event and presentation materials.
The right banner is not the one with the most features. It is the one built for the room, the audience, and the way you use it.
Why local guidance helps here
A local printer can ask the questions a generic order form will not.
Will the banner live in a school hallway or travel to events? Does the legal office need a restrained design that matches existing materials? Does the contractor need site-ready durability and clear technical reproduction? Is color matching important because the brand already uses strict standards?
Those details shape the recommendation. They also reduce the risk of paying for hardware that is wrong for the job or artwork that has to be redone later.
Your Step-by-Step Guide to Ordering a Pop Up Banner
Ordering a pop up banner gets easier once you know the sequence. Most delays happen when buyers skip a basic detail early, such as size, file setup, or deadline.
Step 1 defines almost everything
Start with the practical questions:
Where will you use it?
Indoor lobby, trade show floor, storefront, school event, or public meeting all point toward different choices.
How often will it travel?
Frequent transport may justify sturdier hardware.
What should it accomplish?
Brand awareness, wayfinding, event promotion, and technical presentation do not need the same layout.
When do you need it?
Turnaround affects material and production scheduling.
If you can answer those four questions, pricing and recommendations become much more accurate.
Step 2 request a clear quote
A quote depends on a handful of variables:
- Size
- Material
- Hardware grade
- Quantity
- Turnaround time
- Whether you already have print-ready artwork
If you do not have a finished file, say so upfront. That is not a problem. It is better to mention it early than to upload a PowerPoint the night before a deadline and hope it behaves like production artwork.
For buyers comparing vendors, one useful difference is how much guidance you get before production starts. Some print providers, including Camelot Print & Copy Centers, offer in-house design support, custom display printing, and local pickup or delivery options in the Capital Region and Hudson Valley.
Step 3 prepare the artwork carefully
Before you submit files, check the basics:
- Use the final size template if one is provided
- Keep images high enough quality for large-format print
- Outline or package fonts when needed
- Include bleed if the design runs to the edge
- Use print-friendly color settings
Many avoidable production issues come from common file errors. This checklist of common file mistakes is worth reviewing before you send anything.
Step 4 proof slowly, not quickly
The proof stage is where you catch the problems that cost money later.
Read every word. Then read it again. Check names, phone numbers, URLs, QR codes, and logo placement. Make sure the hierarchy still works when the banner is viewed as a whole, not zoomed in at 200%.
A few proofing questions help:
- Is the headline visible first?
- Is anything too close to the edge?
- Does the bottom section contain only secondary information?
- Are colors consistent with your existing brand materials?
Step 5 approve production and plan delivery
Once the proof is approved, production begins.
If the banner is needed for an event, work backward from the event date. Build in time for pickup, delivery, and a quick test setup. That last step matters. You do not want the first full assembly to happen in a crowded venue while attendees are already walking in.
If your timeline is tight, ask about rush options as early as possible. Local production gives you more flexibility than shipping from a distant facility and hoping transit goes smoothly.
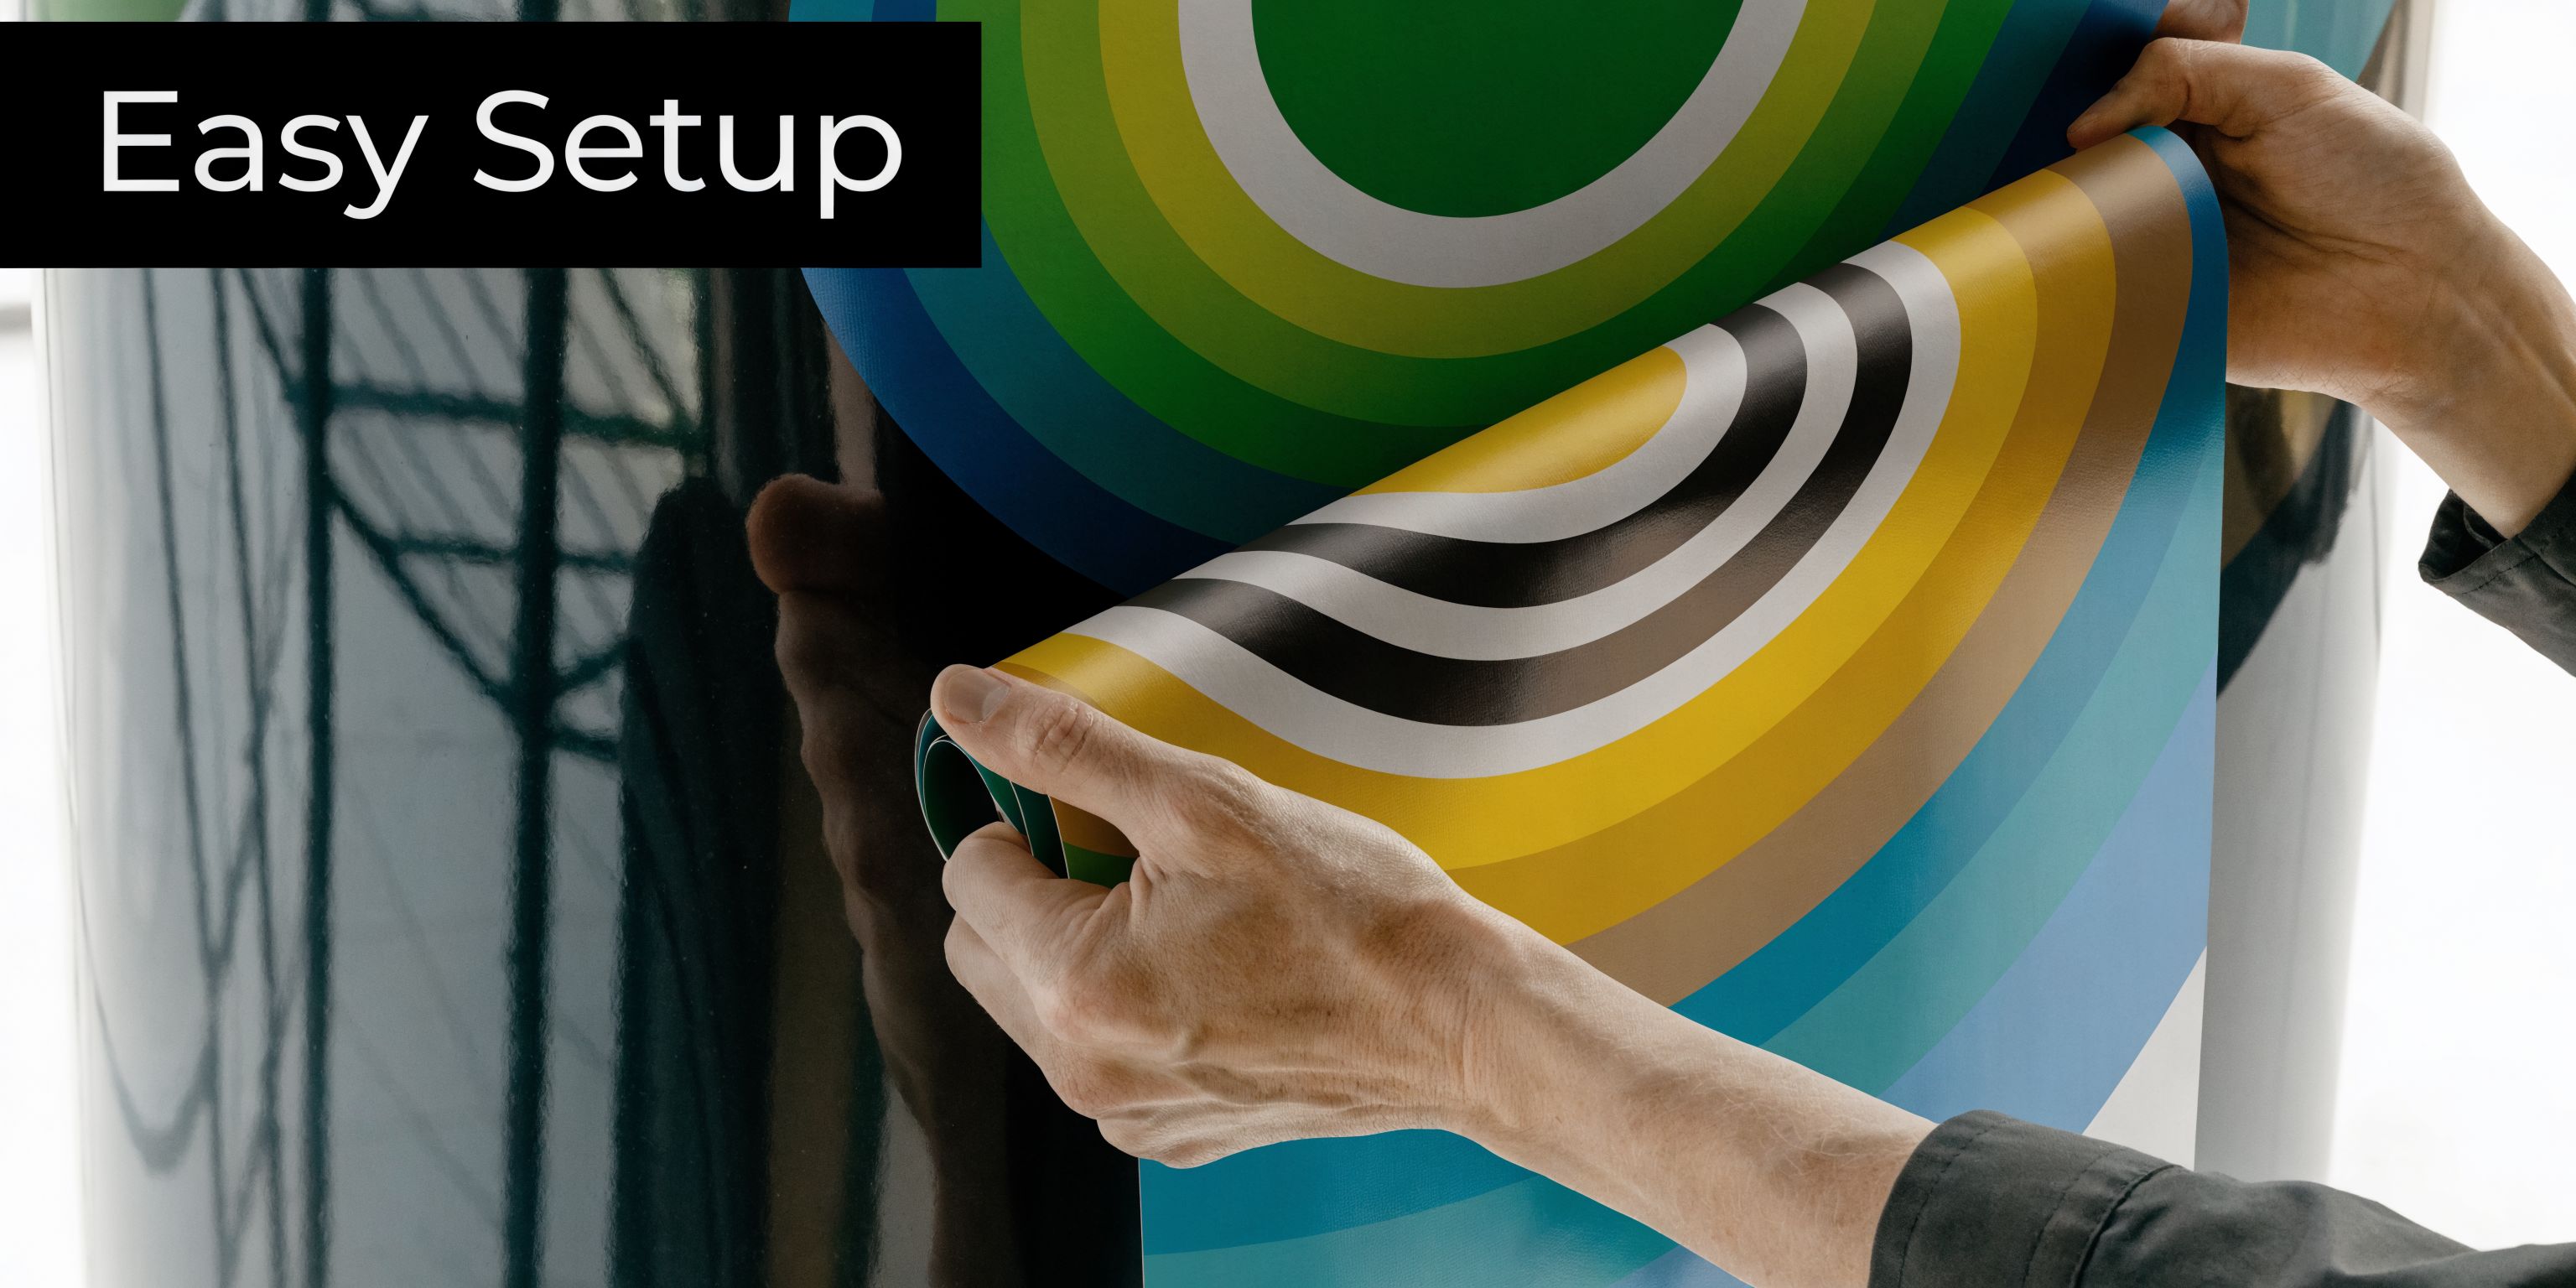
Setup, Teardown, and Long-Term Care Tips
A retractable banner is easy to use, but it lasts longer when people handle it with a little patience. Most damage happens during rushed setup or teardown, not during the event itself.
Many pop up banners weigh 4 to 12 pounds, can be assembled by one person in under 30 seconds, and pack into a compact case that is carry-on friendly, according to GoGoPrint’s guide to pull-up banners and their setup: https://www.gogoprint.sg/blog/artwork-essentials/ggp-introduction-to-pull-up-banner-sg
A safe setup routine
The simplest routine is the best:
Place the base on level ground
Uneven flooring can make the stand lean.
Assemble the pole fully before lifting the graphic
This keeps you from juggling parts midair.
Pull the banner up smoothly
Use steady tension. Do not yank.
Attach the top rail to the pole carefully
Make sure it seats securely before letting go.
That whole process is quick, but quick does not mean rushed.
The biggest handling mistake is letting the graphic snap back into the base. That sudden recoil can crease the panel and stress the mechanism.
Teardown is where banners get hurt
People pack up while they are distracted, tired, or trying to beat traffic. That is exactly when a banner gets dented, dropped, or retracted too fast.
Use one hand to guide the top rail and the other to control the descent. Let the graphic roll back gradually. Once the panel is fully inside, separate the pole and pack each part where it belongs in the case.
For a quick visual walkthrough, this short video shows the basic motion and handling approach:
Cleaning and storage make a real difference
Dust, fingerprints, and scuffs build up slowly. A gentle wipe with a soft, non-abrasive cloth handles routine cleaning. Avoid harsh chemicals unless the material supplier specifically says they are safe.
For storage:
- Keep the banner in its carry case
- Store it dry
- Do not stack heavy items on the cassette
- Avoid extreme heat when possible
If the hardware still looks good but the message changes, many businesses replace only the printed graphic and keep the stand. That can be a practical way to refresh a campaign without starting from scratch.
Treat it like a reusable tool
A pop up banner is not disposable event décor. It is reusable equipment.
Teams that assign one person to handle setup, teardown, and storage get much longer life from the stand because the process stays consistent. That matters if the banner travels between offices, conferences, schools, and community events.
Why Your Local Print Partner Makes All the Difference
A pop up banner looks simple when you see it standing in a lobby. The work behind it is less simple. Material choice, file prep, color handling, proofing, scheduling, and final assembly all affect the outcome.
That is why the print partner matters.
An anonymous online order form can be fine for basic, low-risk jobs. But many buyers in the Capital Region and Hudson Valley do not have low-risk jobs. They have event deadlines, branded color requirements, technical graphics, legal settings, healthcare standards, and limited time to fix mistakes.
A local print partner can review artwork before it becomes a problem. They can show material options, answer practical questions, and help you choose a display that fits the venue. If something needs adjustment, you talk to a person who knows the project rather than reopening a support ticket and waiting.
That local relationship also helps with logistics. Pickup is simpler. Delivery is simpler. Rush situations are easier to manage when the printer is in your region, not several states away.
For first-time buyers, that guidance reduces confusion. For repeat buyers, it reduces rework.
A well-made pop up banner should be easy to carry, easy to read, and easy to trust. Getting there is much smoother when the printer understands the places you work, the deadlines you face, and the standards your organization has to meet.
If you need a pop up banner for an event, lobby, trade show, school program, legal office, healthcare setting, or AEC presentation, you can request a quote from Camelot Print & Copy Centers.