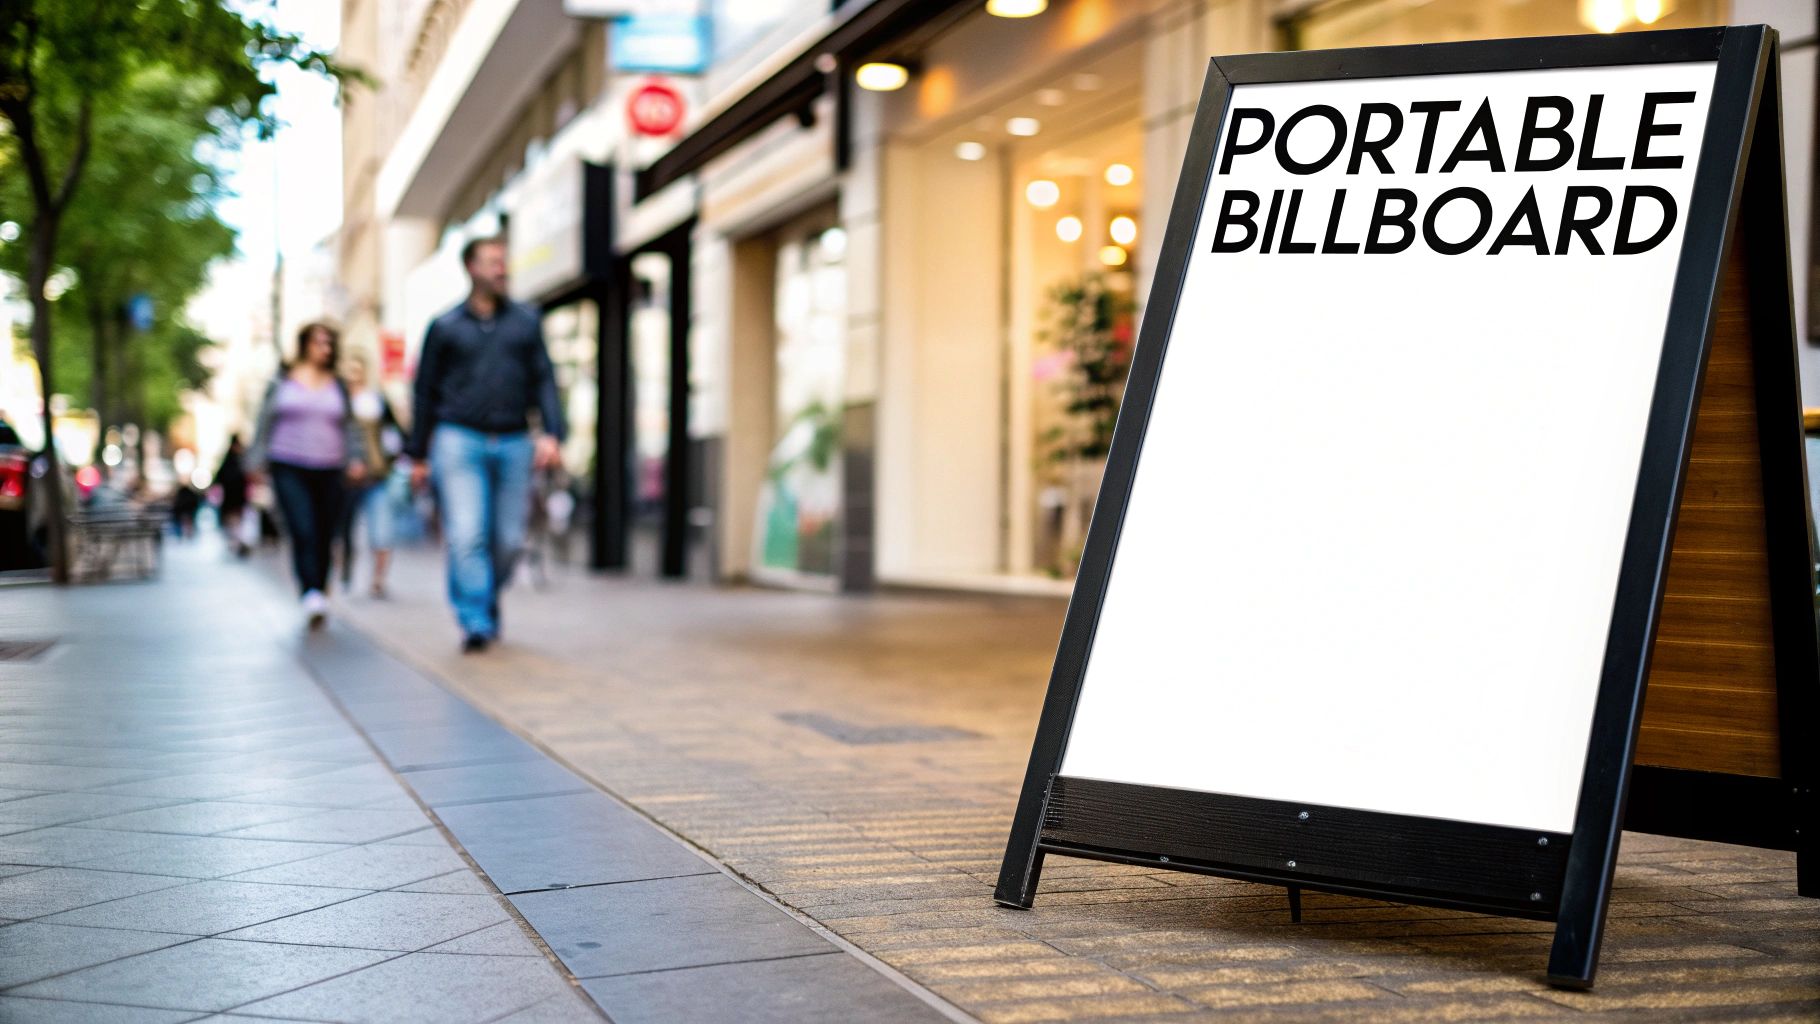
Ever thought about having your own personal, weatherproof billboard that you can put almost anywhere? That's exactly what an outdoor vinyl banner is. It's one of the most reliable and affordable ways to get your message out there, built tough to grab attention in any busy spot.
What Makes Outdoor Vinyl Banners Such a Smart Marketing Move?
Think of a vinyl banner as your silent salesperson, out there working for you 24/7. Digital ads disappear in a flash, but a physical sign makes a real, lasting impression on everyone who walks or drives by. With their big, bold colors and sheer size, they're hard to miss, whether you're announcing a grand opening, promoting a huge sale, or putting your brand on a construction site fence.
A well-designed banner isn't just a sign; it's a direct line to your community. It transforms everyday spots—storefronts, fences, event tents—into prime advertising space.
Big Impact, Small Budget
One of the best things about outdoor vinyl banners is the incredible bang for your buck. You're not locked into the recurring costs of radio ads or online clicks. Instead, a single investment in a quality banner can keep bringing in eyes for years. For a local business, that's a game-changer—a way to make a huge splash without emptying your marketing funds.
A single, well-placed banner can be seen by thousands of people every single day. That kind of repeated exposure is tough to match with other advertising channels at a similar price point.
These banners are also incredibly versatile. This month, it might be promoting a community sponsorship; next month, it could be announcing a new menu item. That flexibility means your marketing always feels current and relevant.
Key Benefits for Local Businesses
The payoff for using outdoor vinyl banners is obvious, especially for businesses trying to build a stronger local footprint. They’re specifically made to handle whatever the weather throws at them—rain, wind, or sun—so your message always looks sharp.
Here’s a quick rundown of why they work so well:
- High Visibility: Their large size and bold graphics are impossible to ignore, cutting through the visual clutter for both drivers and pedestrians.
- Cost-Effectiveness: When you break it down, the cost per impression is incredibly low, making them a smart choice for any budget.
- Durability and Longevity: Crafted from tough, resilient materials, a good banner is built to last for years outside, giving you long-term value.
- Complete Customization: You call the shots on everything—size, design, messaging, and finishing—to create something that perfectly captures your brand.
At the end of the day, an outdoor vinyl banner is a proven tool for building brand recognition and getting people to act. If you want to see the full picture, you can explore various types of banners and see how they fit different needs. Ready to design your own? Get a personalized quote and let our team help you bring your vision to life.
Choosing the Right Vinyl Material for Durability
Not all vinyl is created equal, and picking the right material is the difference between a banner that lasts for years and one that's shredded after the first big storm. The strength and lifespan of your outdoor banner come down entirely to its DNA—the material it's made from. Get this part right, and your message will stand strong against whatever Mother Nature throws at it.
A great way to think about banner material is by its weight, measured in ounces (oz). It's just like comparing different types of paper. You know how a standard sheet of printer paper is flimsy and tears easily, while heavy cardstock is rigid and meant to last? It’s the same with vinyl. A heavier weight means a thicker, tougher banner that’s ready for the long haul.
This durability is why the advertising world runs on these materials. In fact, printed vinyl holds a massive 50.06% share of the market. From billboards to event signage, businesses are leaning on these banners more and more, driving a projected growth of 5.2% annually through 2030.
The Workhorse of the Industry: Scrim Vinyl
When you picture a classic outdoor banner, you’re almost certainly thinking of scrim vinyl. This is the go-to choice for most projects because it hits that perfect sweet spot of strength, vibrant print quality, and affordability.
So, what makes it so tough? The secret is a polyester mesh, or "scrim," that’s sandwiched between two layers of PVC vinyl. This internal grid is like the rebar in concrete—it provides incredible reinforcement that stops rips and tears from spreading, even when the wind picks up.
For most short-term to medium-term outdoor jobs, 13oz scrim vinyl is your best bet. It’s light enough to hang easily but durable enough to handle typical weather for several years. It's the perfect material for things like:
- Weekend festival promotions where you need a vibrant, temporary sign.
- Annual sale announcements hung on your storefront for a few weeks.
- Grand opening signs that need to make a big splash without needing to last a decade.
But for projects that need to endure for the long haul or in really tough environments, upgrading to a heavier 18oz scrim vinyl is a smart investment. This beefier material is built for prolonged exposure, making it ideal for construction site banners that will be up for a year or more. You can dive deeper into the specifics of different printing materials in our guide to vinyl printing.
Taming the Wind with Mesh Vinyl
Ever see a huge banner on a fence puffing out like a ship's sail in the wind? That’s called the "sail effect," and it puts a ton of stress on the banner and whatever it's attached to. For those consistently windy spots, mesh vinyl is the only way to go.
Mesh vinyl is a perforated material, woven with thousands of tiny holes. These little openings are the key—they allow air to flow right through the banner instead of pushing against it, dramatically reducing the wind load.
Think of it like a screen door versus a solid glass door in a storm. The screen lets the breeze pass through, while the solid door gets slammed by every gust. Mesh vinyl does the same thing for your banner, protecting it from damage.
This makes it the clear winner for exposed locations like:
- Chain-link fences at sports fields or construction sites.
- Scaffolding on building exteriors.
- Large banners stretched between two poles or posts.
The perforations do mean the printed image is a little less saturated than on solid scrim vinyl, but that's a small trade-off for a banner that won't tear itself apart. Choosing mesh ensures your banner stays put and your message stays visible, no matter how hard the wind blows.
Ready to find the perfect material for your next project? Get a quote from our experts today!
Getting The Finishing Touches Right For A Professional Look
A banner's real staying power isn't just about the vinyl it’s printed on—it's all in the finishing touches. These final details are what take a simple sheet of printed material and turn it into a durable, professional sign that hangs perfectly and holds up against the weather. Without the right finishing, even the most beautifully designed banner can end up frayed, torn, or sagging.
Think of it this way: the vinyl is the canvas, but the finishing options—like hems, grommets, and pole pockets—are the frame that gives it structure and protects it. Every choice you make here directly impacts how long your banner will last and how good it looks on display.
Hemming: The First Line of Defense Against Fraying
The most fundamental finishing option is hemming. We simply fold over the edges of the banner and heat-weld them shut, creating a thick, reinforced border. It works just like hemming a pair of jeans to stop the fabric from unraveling; a hemmed banner edge prevents fraying and tearing under tension.
This simple step makes the edges significantly stronger than a raw cut, providing a solid base for adding grommets. Without this reinforcement, the stress from ropes or zip ties can easily rip the vinyl, especially on a windy day. It's a small detail that makes a huge difference in durability.
The diagram below shows the core vinyl types we work with. The material you choose is the first step before you can even think about finishing.
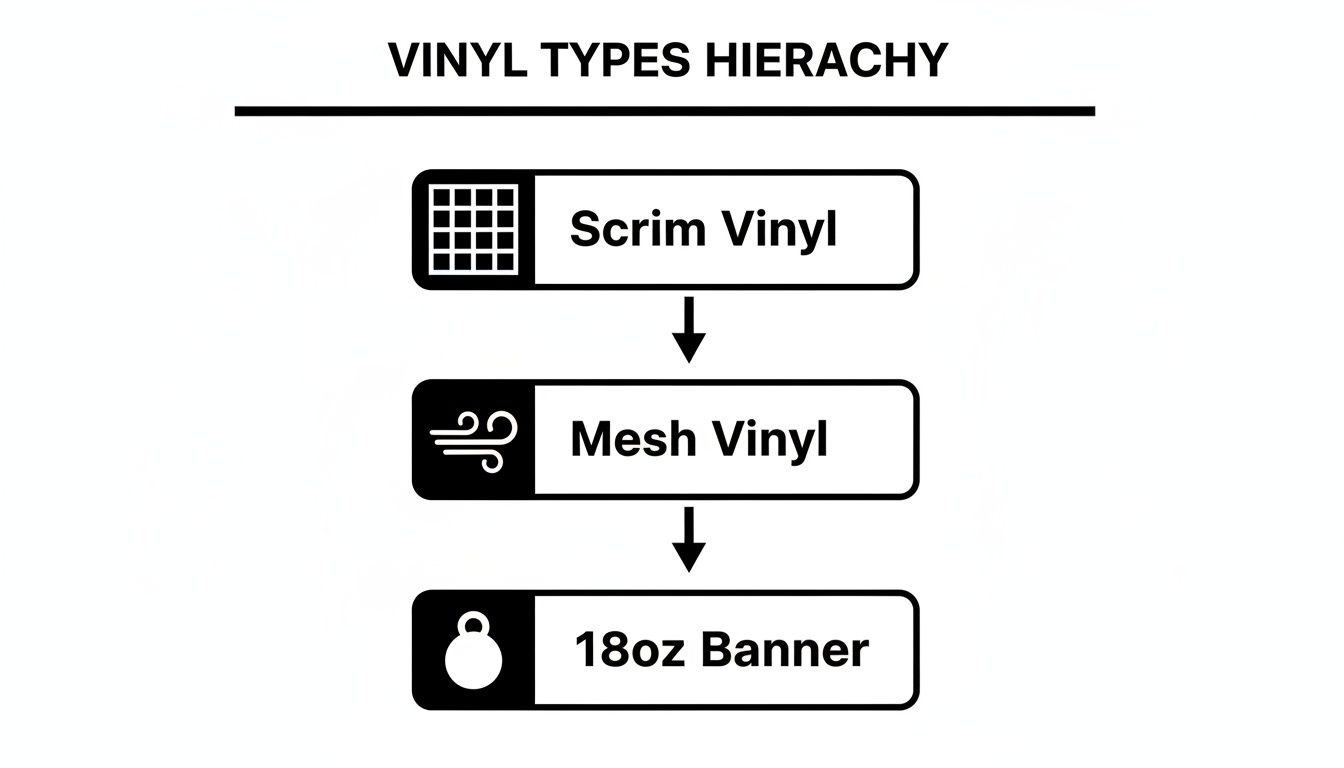
Whether you go with a standard scrim or a heavy-duty 18oz vinyl, the right material lays the groundwork for a successful installation.
Grommets and Pole Pockets: Secure Ways to Hang Your Banner
Once your banner is hemmed and ready, you need a way to hang it. The two most popular and effective solutions are grommets and pole pockets, each suited for different situations.
Grommets are those little metal rings we punch along the banner's hemmed edges. They act as reinforced anchor points for ropes, bungee cords, or zip ties, letting you pull the banner tight and secure it to a fence, wall, or between two posts. For a clean, sag-free hang, we recommend placing grommets every 24 inches to distribute the tension evenly.
Pole pockets offer a sleeker, more polished look. We create these by folding over the top and/or bottom edge of the banner and welding it to the back, forming a sleeve. This allows you to slide a pole or dowel right through, creating a clean, taut display you often see on street light poles or in trade show stands. You can learn more about how finishing impacts different sign types in our overview of large format printing possibilities.
Managing Wind: The Wind Slits vs. Mesh Banner Debate
Putting a banner up in a windy spot? You have to think about airflow. One common method is cutting half-moon shaped wind slits into the banner. While these do let some air pass through, they also physically damage the banner, which can weaken its structure and break up your design.
A much better approach is to choose a mesh banner from the get-go. As we mentioned earlier, mesh material is naturally perforated with tiny holes that let the wind pass right through. This gets rid of the "sail effect" without compromising the banner's strength. In almost every case, starting with mesh is a smarter investment than cutting slits into a solid vinyl banner.
To make things easier, here's a quick rundown of your main finishing choices.
Banner Finishing Options at a Glance
This quick comparison can help you decide which is best for your banner's intended use and location.
Choosing the right combination of these options ensures your banner not only looks fantastic but is built to last.
Designing Banners That Capture Attention and Drive Action
You have about three seconds. That’s the entire window you get to catch the eye of someone driving or walking past your outdoor vinyl banner. In that fleeting moment, your design has to do three things: grab their attention, get a message across, and make them want to act. The trick isn't to cram every last detail onto the banner; it's about being strategic, where clarity and impact are king.
This intense focus on high-impact visuals is a huge reason why the signage industry is booming. Right now, the market for outdoor printed signs, including banners, is valued at a massive USD 34.65 billion. Projections show it soaring to USD 57.09 billion by 2030. This growth is all about the need for advertising that simply can't be ignored in our busy world. You can read the full analysis of the outdoor signage market to see the numbers for yourself.
Create a Clear Visual Hierarchy
The best banners instinctively guide your eye using a strong visual hierarchy. It’s all about arranging things so the most important information jumps out first. Your banner needs one primary, powerful message—not five competing ones.
Think of it like a newspaper headline. Your main point, like "Grand Opening This Saturday!", should be the biggest and boldest thing on there. Supporting details, such as the date or a website, can be smaller but still perfectly readable. Anything else is just static.
A banner with too many messages becomes unreadable from a distance. A banner with one clear message becomes unforgettable.
To pull this off, just follow a simple rule: one main headline, one strong image, and one clear call to action. This focused approach ensures your message hits home in that crucial three-second glance.
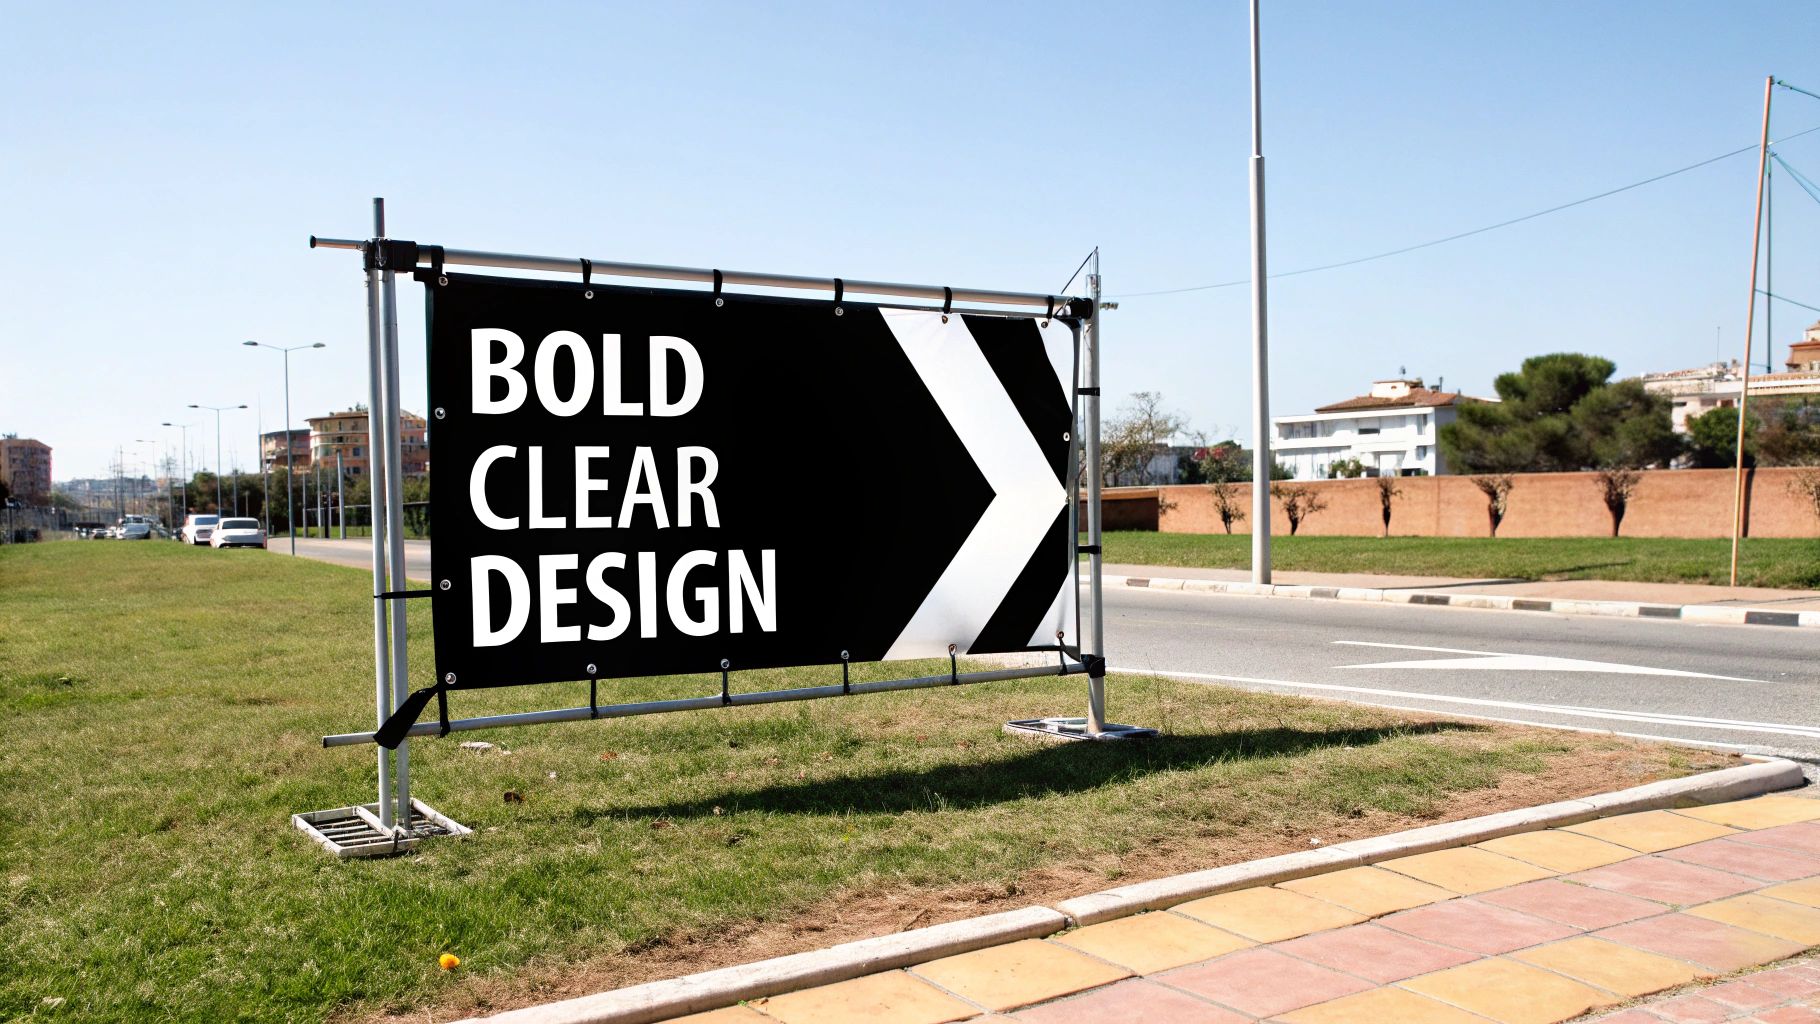
Choose High-Contrast Colors and Legible Fonts
Your choice of colors and fonts can make or break your banner's readability from a distance. The most effective banners use bold, high-contrast color combinations that stand out from their surroundings. We’re talking dark text on a light background (like black on yellow) or the reverse (like white on a deep blue).
Stay away from subtle, low-contrast pairs like light gray on white—they turn into an invisible blur from more than a few feet away. In the same way, your font needs to be all about function, not fancy flair.
- Select Clean Fonts: Stick with simple, bold sans-serif fonts. Think Helvetica, Arial, or Franklin Gothic. Ditch the script or decorative fonts that are tough to read at a glance.
- Go Big: Your text has to be huge. A great rule of thumb is that text should be at least one inch tall for every 10 feet of viewing distance.
- Keep It Simple: Use no more than two different fonts. Any more than that, and the design starts to look cluttered and confusing.
Prepare Your Files for Flawless Printing
Even a brilliant design can be let down by poor file preparation. To make sure the final printed banner looks just as crisp and vibrant as it does on your screen, you have to nail a few technical details. These steps are what guarantee that what you see is what you get.
First, your logo and any important graphics absolutely must be in a vector format. Vector files (look for extensions like .AI or .EPS) are built from mathematical equations instead of pixels. This means you can scale them up to any size—from a business card to a billboard—and they’ll stay perfectly sharp, with no blurriness.
Next, all your print files need to be set up in CMYK color mode, not RGB. Your computer screen uses RGB (Red, Green, Blue) to create colors, but professional printers use CMYK (Cyan, Magenta, Yellow, Black). If you design in RGB, you're likely to get some surprising and unwanted color shifts when the banner comes off the press.
Finally, any photos you use have to be high-resolution. A low-resolution image will look pixelated and amateurish when it's blown up to banner size. The standard to aim for is at least 150 DPI at the final print dimensions. For a more detailed explanation, check out our guide on understanding DPI for printing.
Once you’ve got these design principles and technical specs down, you're ready to create powerful outdoor banners that don't just get noticed, but get results. Ready to design something that works? Contact us today for a personalized quote.
Proper Installation and Care to Extend Your Banner's Life
A brilliant design is a great start, but how you install and care for your banner is what really makes it work. A sloppy installation can make even the most professional design look cheap, while the right techniques will protect your investment and keep your message front and center. Taking a few extra minutes to hang it correctly is the single best thing you can do to get the most out of it.
There's a reason these banners are so popular. The global PVC flex banner market, currently valued at USD 1,946 million, is on track to hit USD 2,638 million by 2034. That growth is fueled by businesses who need reliable, long-lasting outdoor advertising that just plain works. You can read more about the PVC flex banner market trends here.
Securing Your Banner for Success
The best way to hang your banner comes down to where it’s going. Different surfaces call for different tools to keep the banner secure without damaging it or the wall you’re mounting it on. Hanging it right prevents sagging, tearing, and the kind of stress from wind that can shorten its life.
Here’s a quick rundown of the most common spots and how to handle them:
- On a Fence: Perfect for events, construction sites, or ball fields. The best bet here is using bungee cords or heavy-duty zip ties threaded through the grommets. Bungees are fantastic because their stretchiness lets them absorb the shock from strong wind gusts, putting less strain on the banner itself.
- On a Wall: For a more permanent display on brick, stucco, or siding, you’ll want to use screws and washers. The washers are the key—don't skip them! They spread the pressure out, stopping the screw heads from ripping through the grommets over time. This keeps your banner flat, taut, and secure for the long haul.
A taut banner is a readable banner. Always pull it tight from all hanging points. A sagging banner creates shadows and distorts your graphics, making it tough for people to read your message from a distance.
Your Essential Installation Toolkit
Nothing’s worse than showing up to hang a banner and realizing you don’t have what you need. Putting together a small kit ahead of time turns a potentially frustrating job into a quick and easy one. A little prep saves a lot of headaches.
Installation Checklist:
- Tape Measure: Get your placement just right—centered and even.
- Level: Nobody likes a crooked banner. This guarantees a professional look.
- Zip Ties or Bungee Cords: Your go-to for fences, posts, and railings.
- Rope or Cable: Great for stringing a banner between two posts or trees.
- Screws and Washers: The right choice for solid, permanent wall mounts.
Maintaining Your Banner for Longevity
Beyond a good installation, a little maintenance goes a long way in keeping your banner looking sharp. Over time, dirt, dust, and pollen will settle on the surface, making your colors look dull. The good news is that cleaning is a breeze.
All you need is a soft cloth, some mild soap, and water. Gently wipe away any grime, but stay away from harsh cleaners or stiff brushes that could scratch the print. Once it’s clean, let it air dry completely before you think about taking it down.
When it's time to put the banner away, always roll it with the print side facing out. Folding it will cause permanent creases and can even crack the ink. Find a cool, dry place to store the rolled-up banner, away from direct sunlight, and it will be ready to go for next time.
Ready to create a banner built to last? Get a quote from us today, and our team will help you choose the right options.
Bring Your Vision to Life with a Printing Partner
You've got a killer design idea. You know the material you need and how you want it finished. But turning that concept into a physical banner that actually gets results? That's where the right printing partner comes in. This isn't just about hitting "print"—it's about having an expert on your team who can bring your vision to life perfectly.
For businesses here in New York's Capital Region and Hudson Valley, working with a local specialist like Camelot Print & Copy Centers makes a world of difference. We're not just a faceless online vendor. We're here to give you hands-on guidance, helping you navigate everything from the right vinyl weight for a windy spot to the best finishing options for a clean, professional look. This kind of collaboration takes the guesswork out of the equation and helps you sidestep expensive mistakes.
Why a Local Expert Matters
Let's be honest, one of the biggest headaches is timing. When you have an event deadline breathing down your neck, a local partner is your best bet. Our fast turnarounds mean your outdoor vinyl banners are in your hands right when you need them, without the stress of cross-country shipping delays. Plus, since we handle everything in-house, we have obsessive quality control. Your project isn’t just another ticket in a long queue; it's a local collaboration we're personally invested in.
Choosing a printing partner means gaining a team committed to your success. Our goal is to make sure your final banner is as durable, vibrant, and effective as you imagined it.
Our in-house designers can also help you polish your concept and get your files print-ready. A common stumbling block for many is color accuracy. To get those bold, vibrant colors you see on your screen to look just as good on a massive vinyl banner, you have to think about the color models used in professional printing. If you’re not a designer by trade, learning about things like mastering CMYK conversion to RGB is key to avoiding washed-out or inaccurate colors. Don't worry, our team can walk you through all the technical bits to guarantee a flawless print.
Ready to make a big impact? Contact Camelot Print & Copy Centers today for a personalized quote and let our local experts help you create a banner that truly stands out.
Got Questions About Outdoor Banners? We've Got Answers.
Even the most well-thought-out plan can leave you with a few lingering questions. When you're ready to order, you want to be completely confident in your choices. To help you get there, we've pulled together some of the most common questions we hear about durability, design, and timing.
How Long Will My Outdoor Banner Actually Last?
This is a great question, and the honest answer is: it depends on a few key things—the material you choose, the finishing, and what Mother Nature throws at it. A standard 13oz scrim vinyl banner, when installed properly, will look great for a solid 3-5 years under normal conditions.
But what if your banner is going up in a high-wind area or will be baking in the sun all day? For those tougher, long-term jobs, it’s smart to upgrade to a heavy-duty 18oz vinyl with reinforced hemming. A little bit of care goes a long way, too. Giving it a gentle clean now and then and always rolling it for storage (never fold it!) will help you get the most life out of it.
Vinyl vs. Mesh Banners: What's the Real Difference?
The biggest difference comes down to one thing: wind. Think of a standard vinyl banner as a solid wall. It has a smooth surface that makes colors and graphics pop with incredible vibrancy, making it the go-to for most situations.
Now, imagine that wall has thousands of tiny holes in it—that's a mesh banner. All those perforations let the wind pass right through, which is a game-changer for installations on fences, scaffolding, or anywhere else that gets a lot of breeze. It dramatically cuts down on that "sail effect" that can rip a solid banner right off its moorings. The trade-off is that the print is a little less saturated up close, but its staying power in windy spots is unbeatable.
Which File Format Should I Use for My Design?
For a print that looks crisp and professional, no matter how big, vector files are king. We always recommend sending your artwork in a vector format like .AI, .EPS, or a vector-based .PDF.
Think of it this way: Vector files are built with math, not pixels. That means they can be scaled up from the size of a postage stamp to the side of a building without losing a single drop of quality. No blurriness, ever.
If you absolutely have to use a pixel-based image (like a JPEG or PNG), it needs to be high-resolution. You'll want to aim for at least 150 DPI at the banner's final, full size. Anything less will likely look fuzzy and unprofessional. And one more pro tip: always design in CMYK color mode to make sure the colors you print are the colors you intended.
How Quickly Can I Get My Custom Banner?
This can depend on the banner's size, how complex the finishing is, and what our production queue looks like. But here's the best part about working with a local printer like Camelot Print & Copy Centers: we're built for speed.
For most standard banner orders where the artwork is ready to go, we can often have it printed and ready for you in just a couple of business days. We know deadlines are a big deal, so just let us know your timeline when you ask for a quote, and we'll work with you to make it happen.
Ready to make a bold statement with an outdoor banner that gets noticed? Contact Camelot Print & Copy Centers today. Let our team give you a personalized quote and show you how we bring big ideas to life, fast. You can get your quote here.